
App Layout
Learn how to update your app layout for the homepage of your app.
Select App Layout
1. To edit the layout of your app, go to the ‘app layout’ tab on the navigation panel.
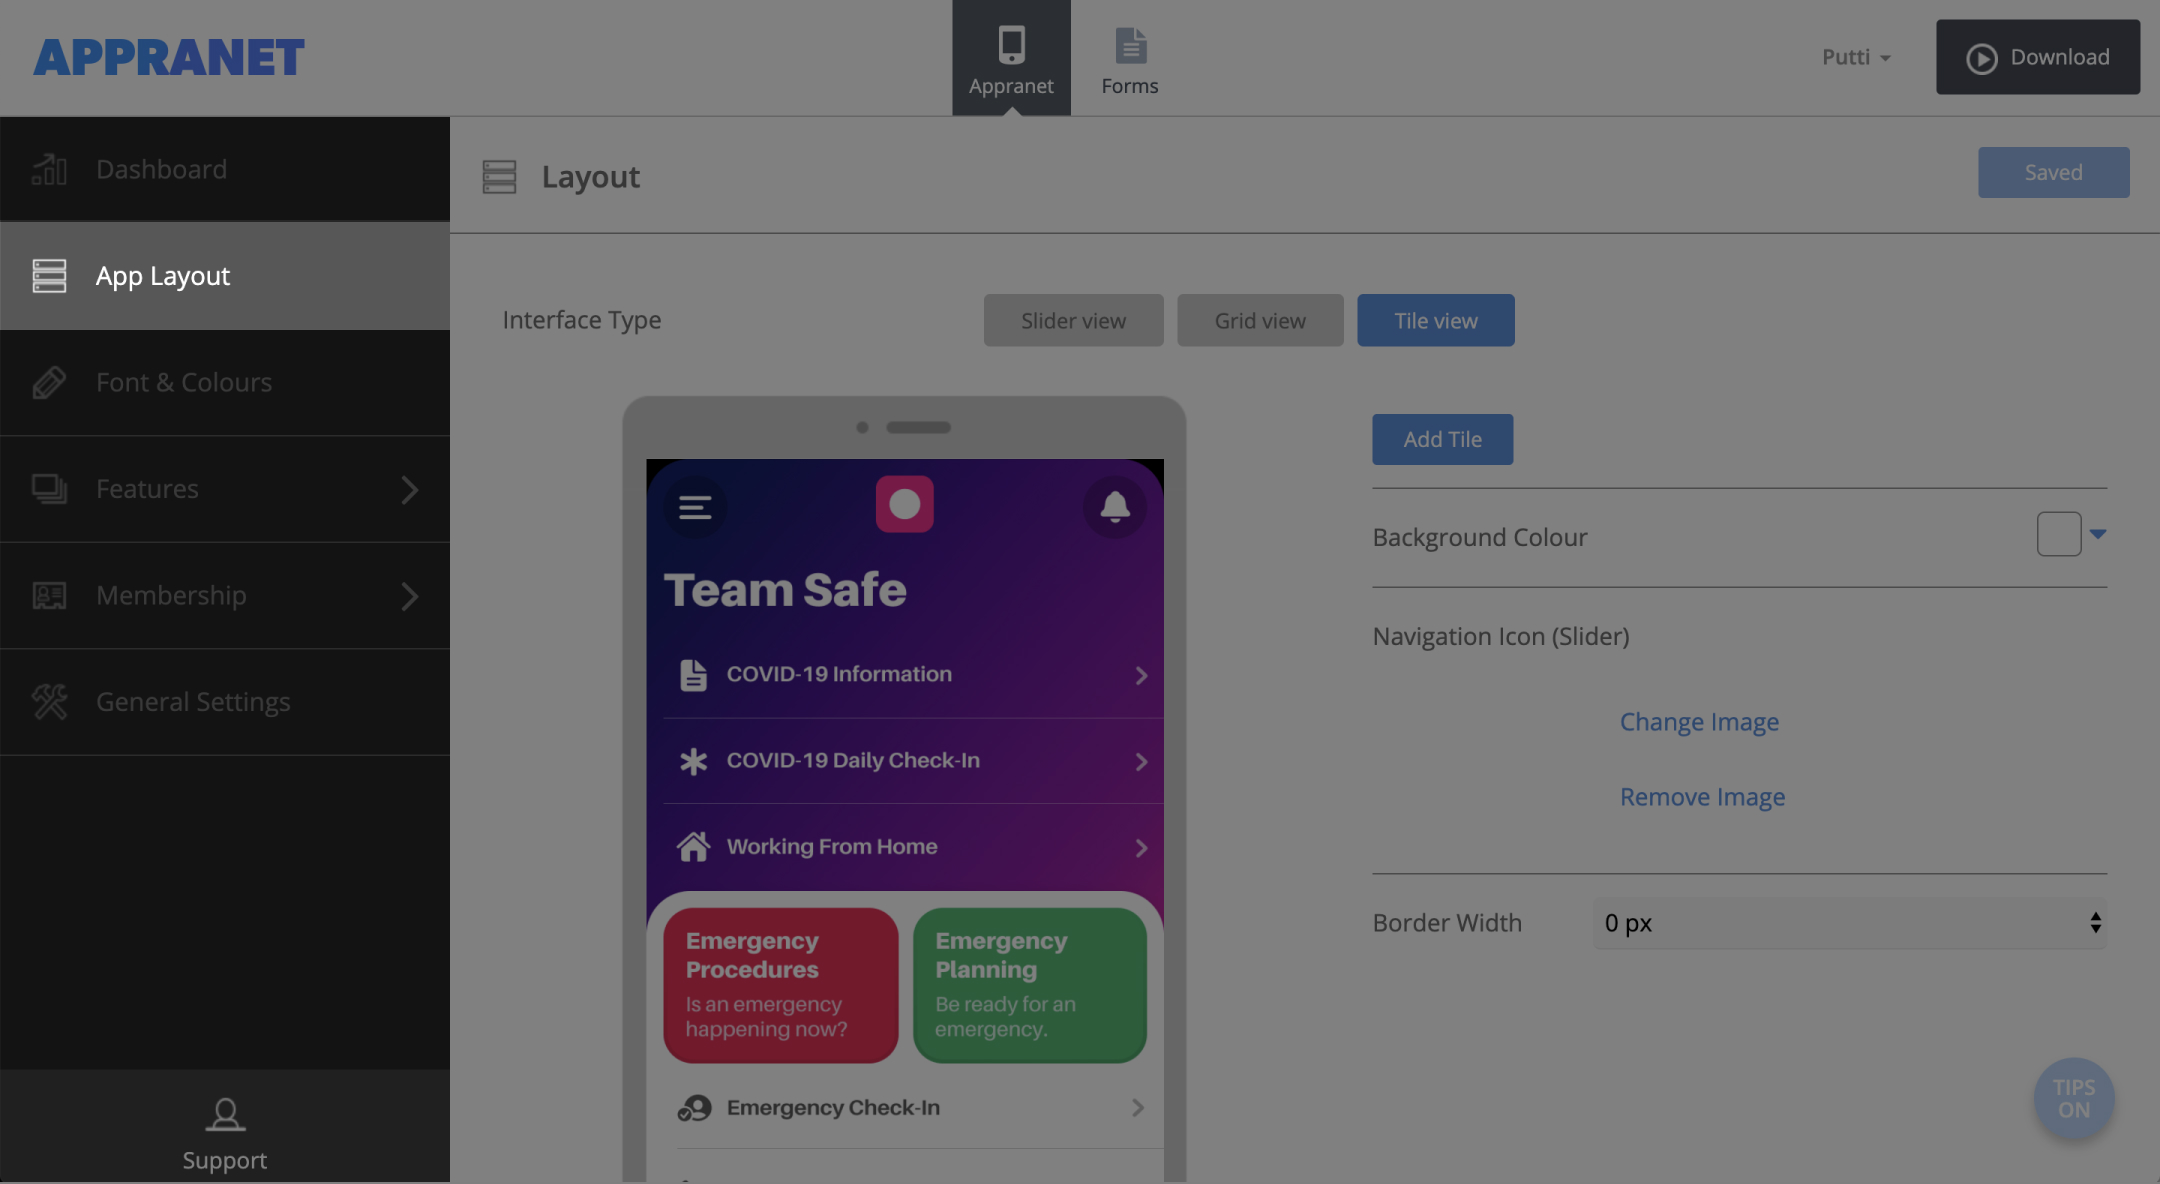
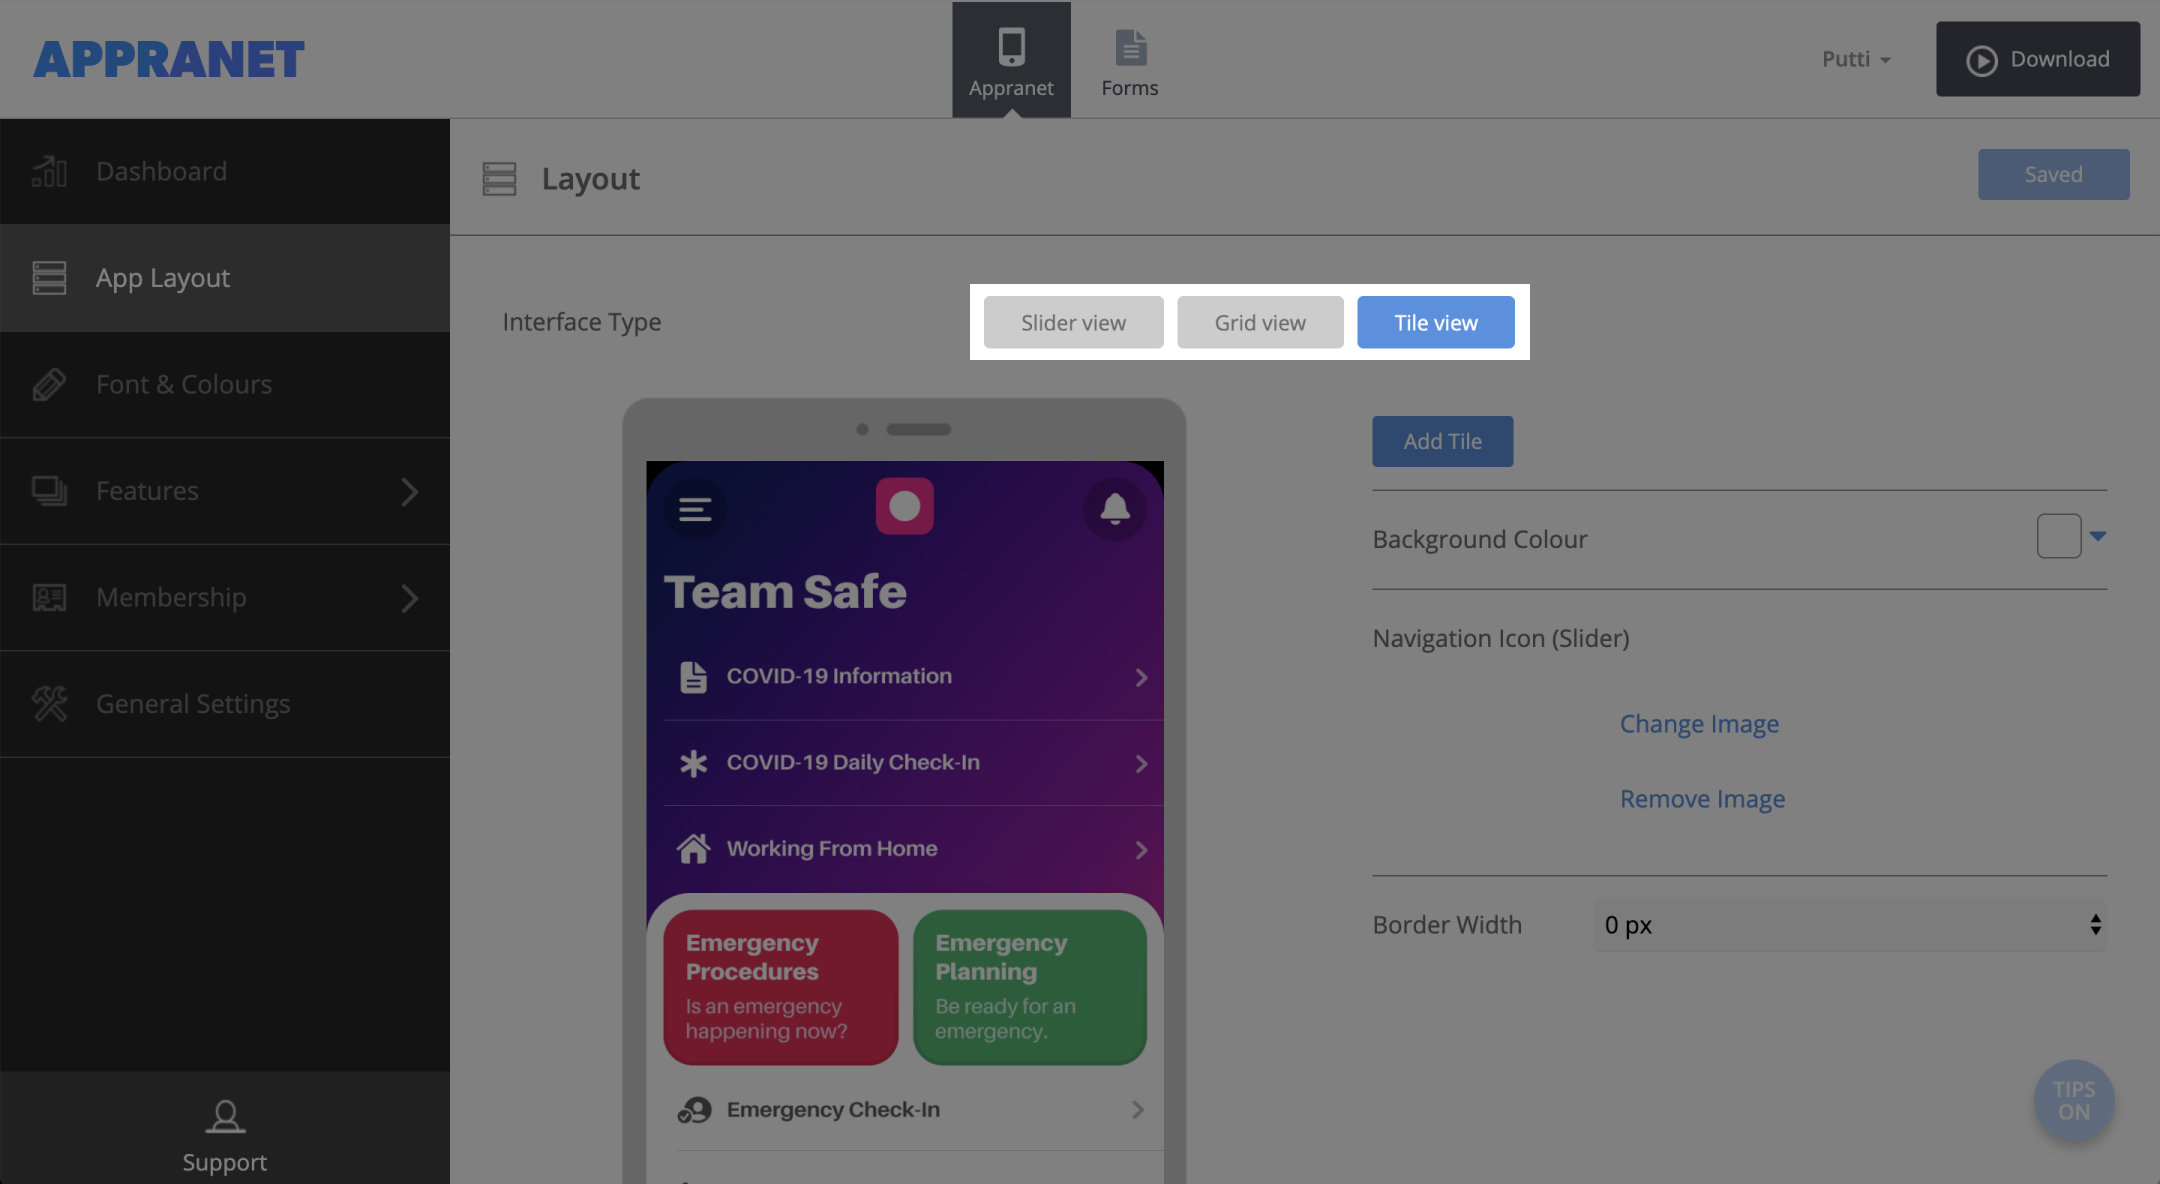
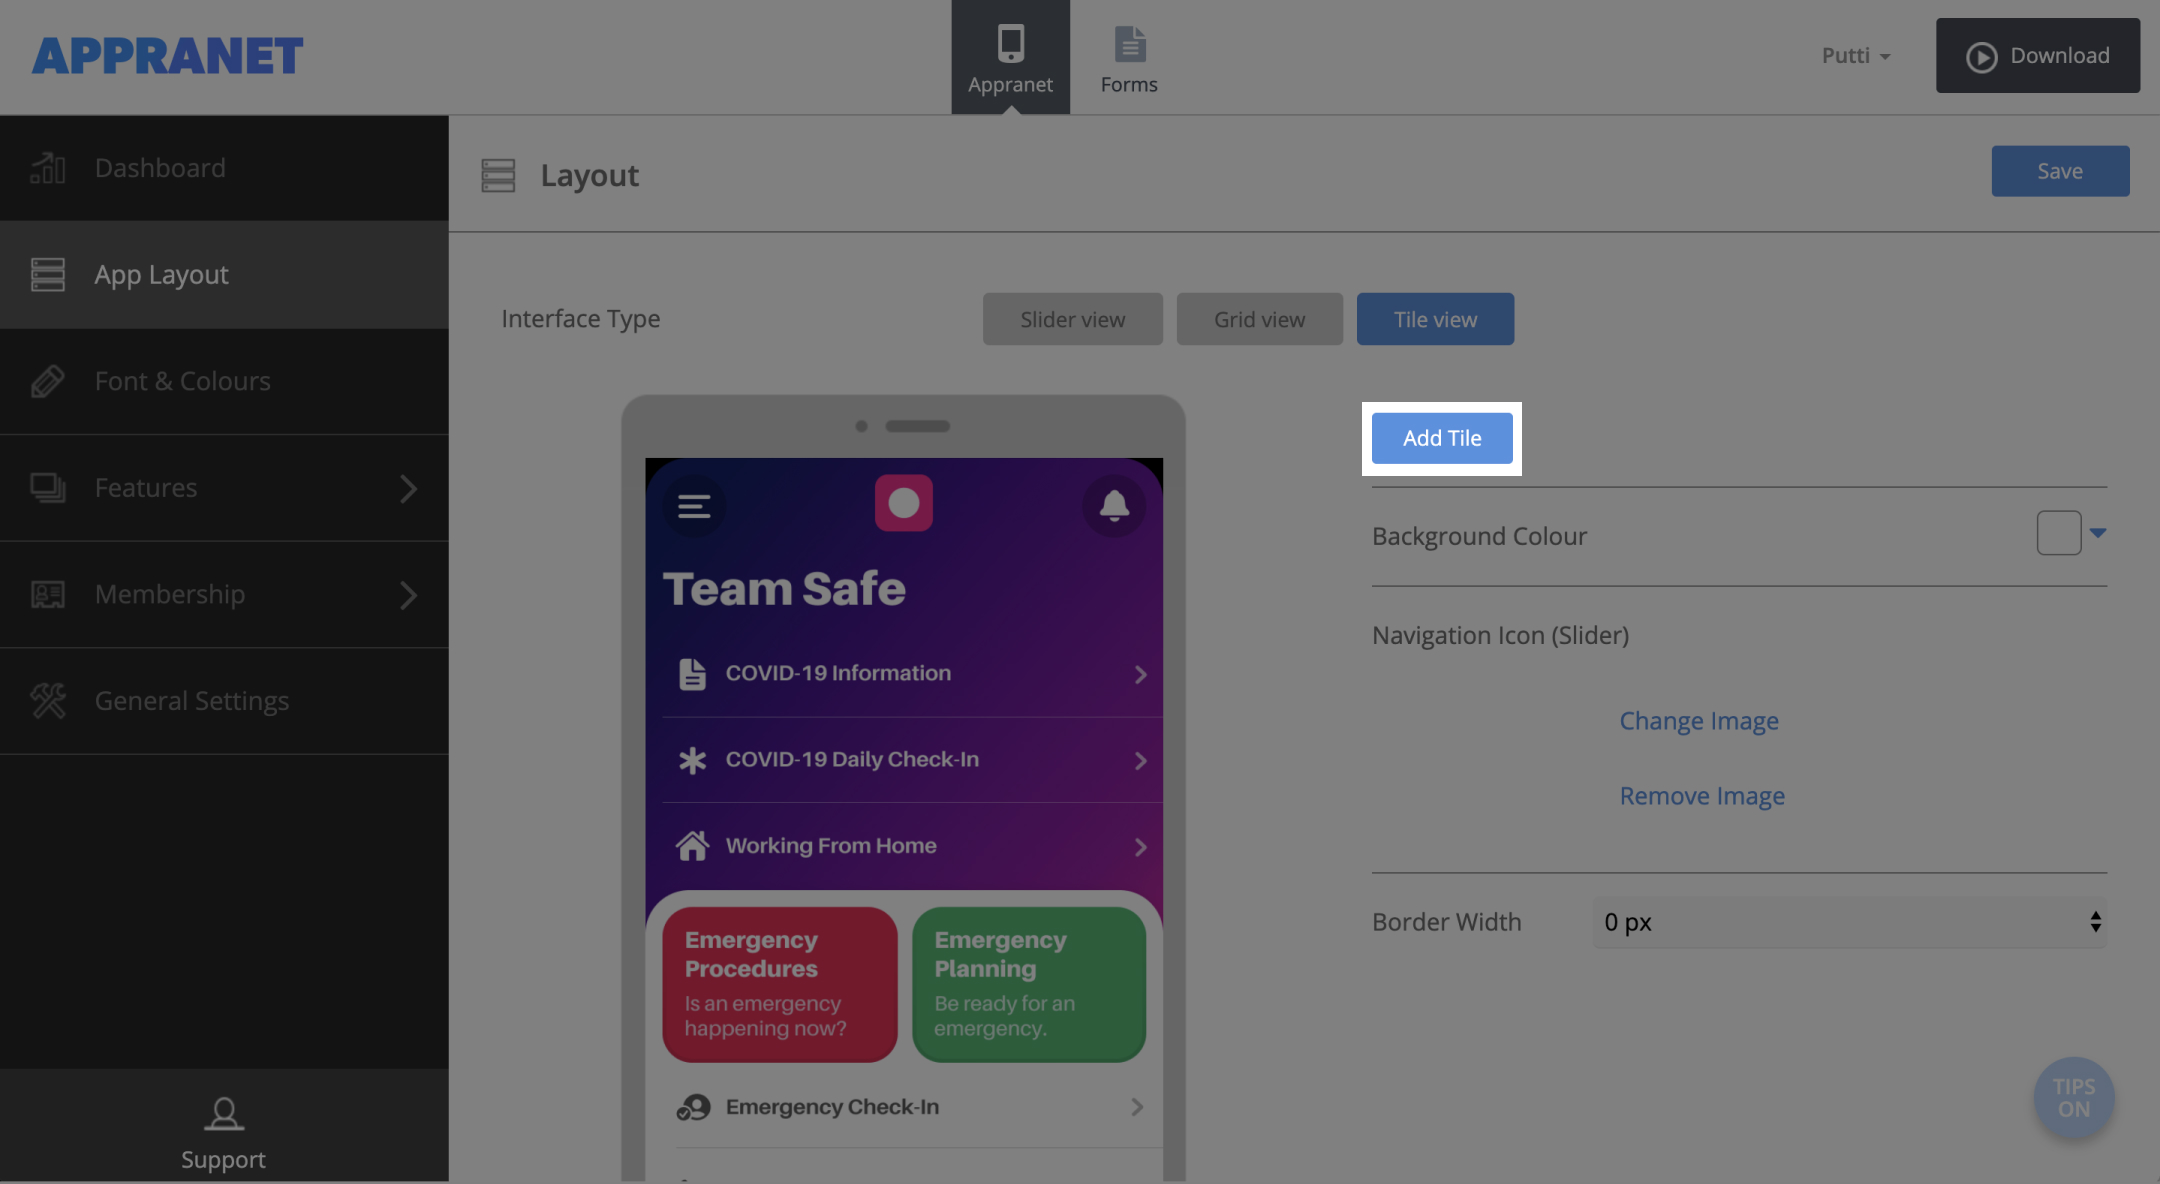
2. Begin making it your own by choosing your app interface. (this is how it is viewed on the home screen). There are 3 options to choose from slider, grid or tile.
Note. If you choose the slider there will be no further changes for you to make.
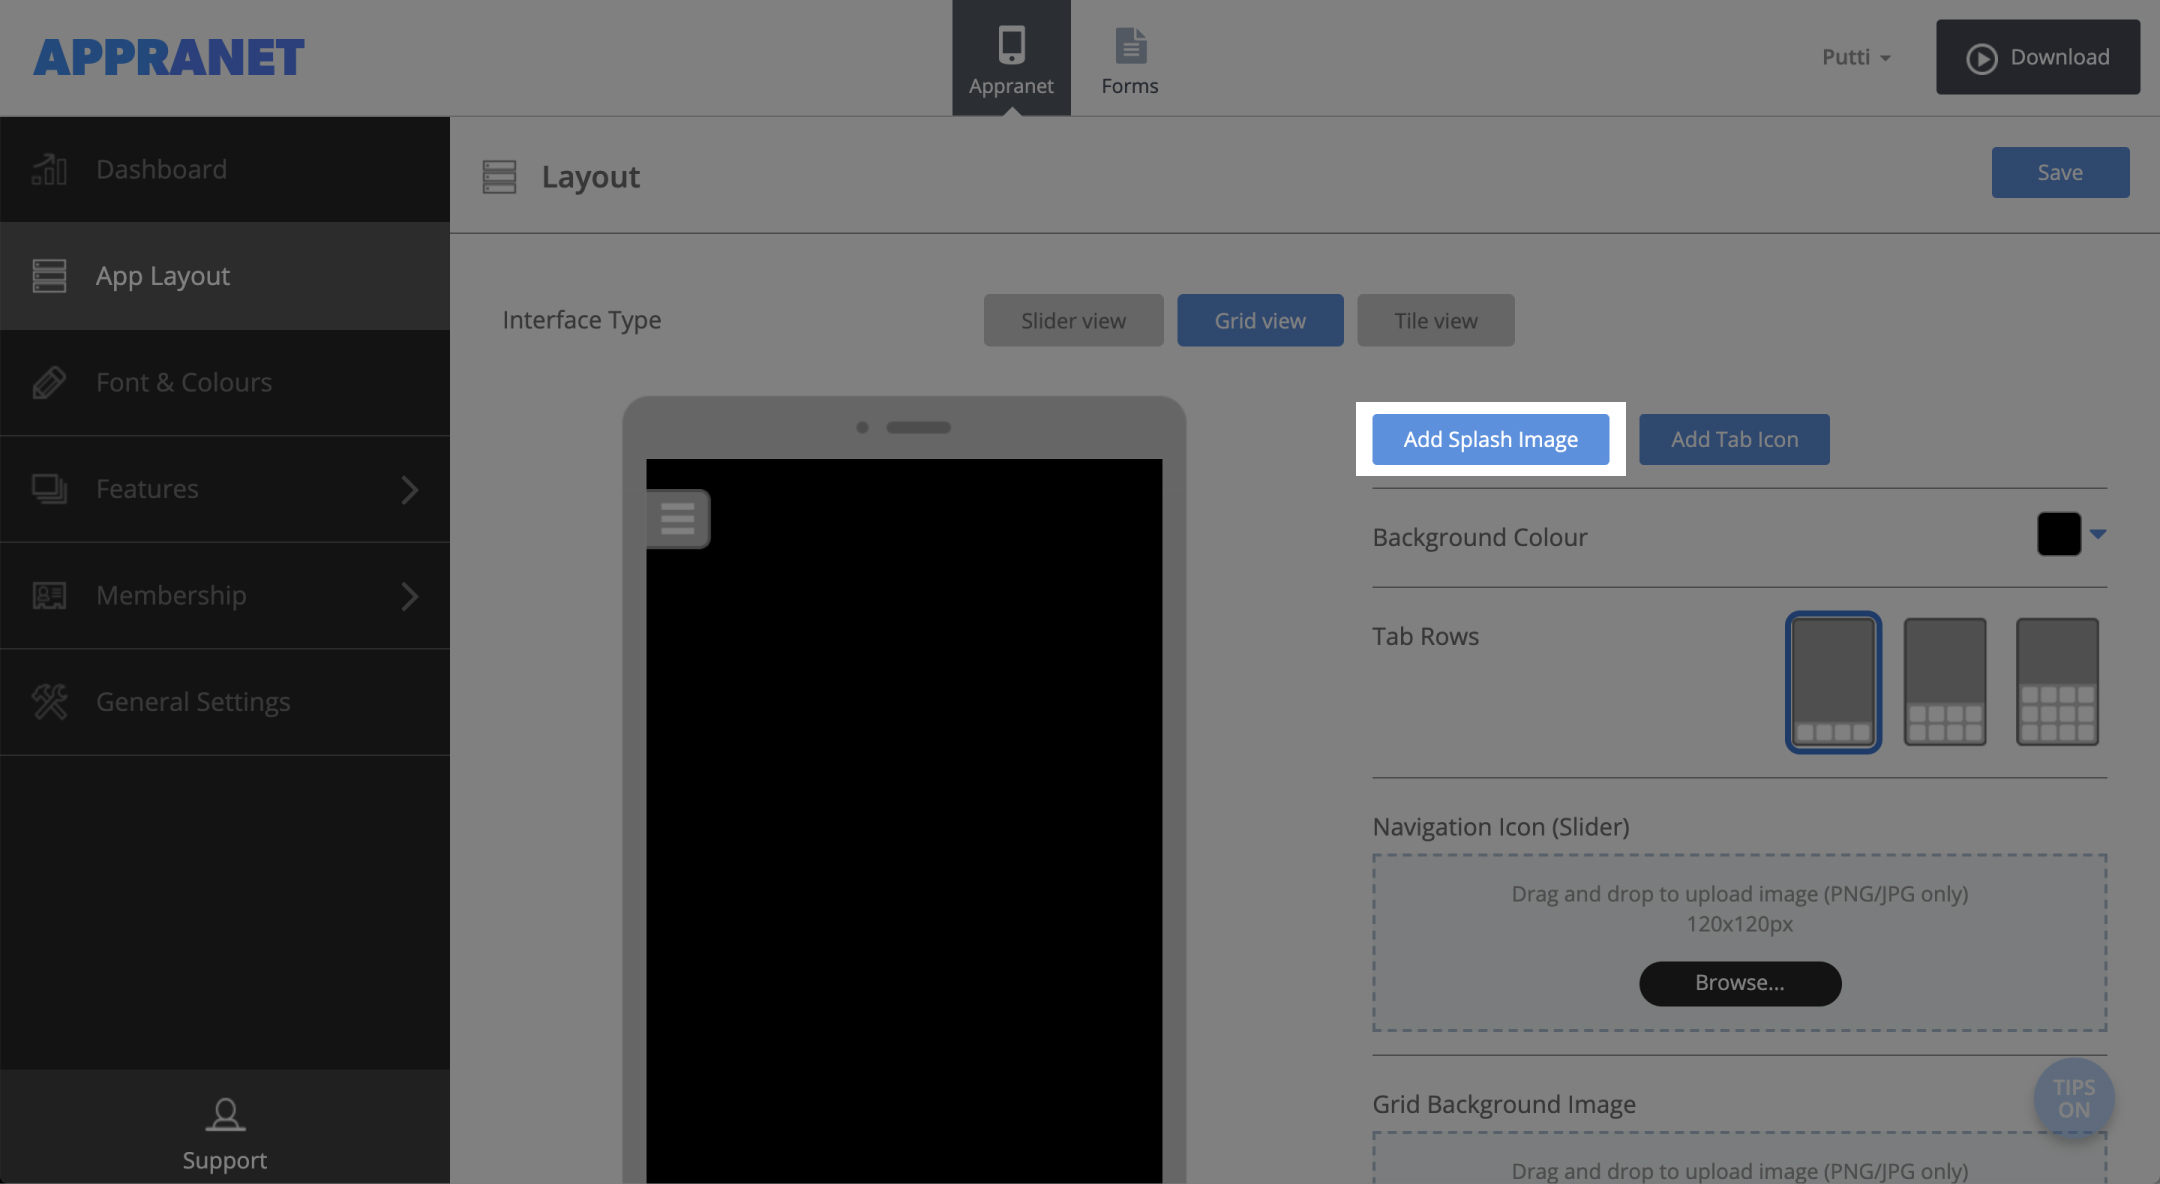
Grid View
If you choose Grid view you will need to upload a splash image, this is the image that will be viewed on the home screen of your app
1. Press ‘Add Splash Image’
2. Drag and drop an image to upload or choose to browse to upload an image at 640x1136px
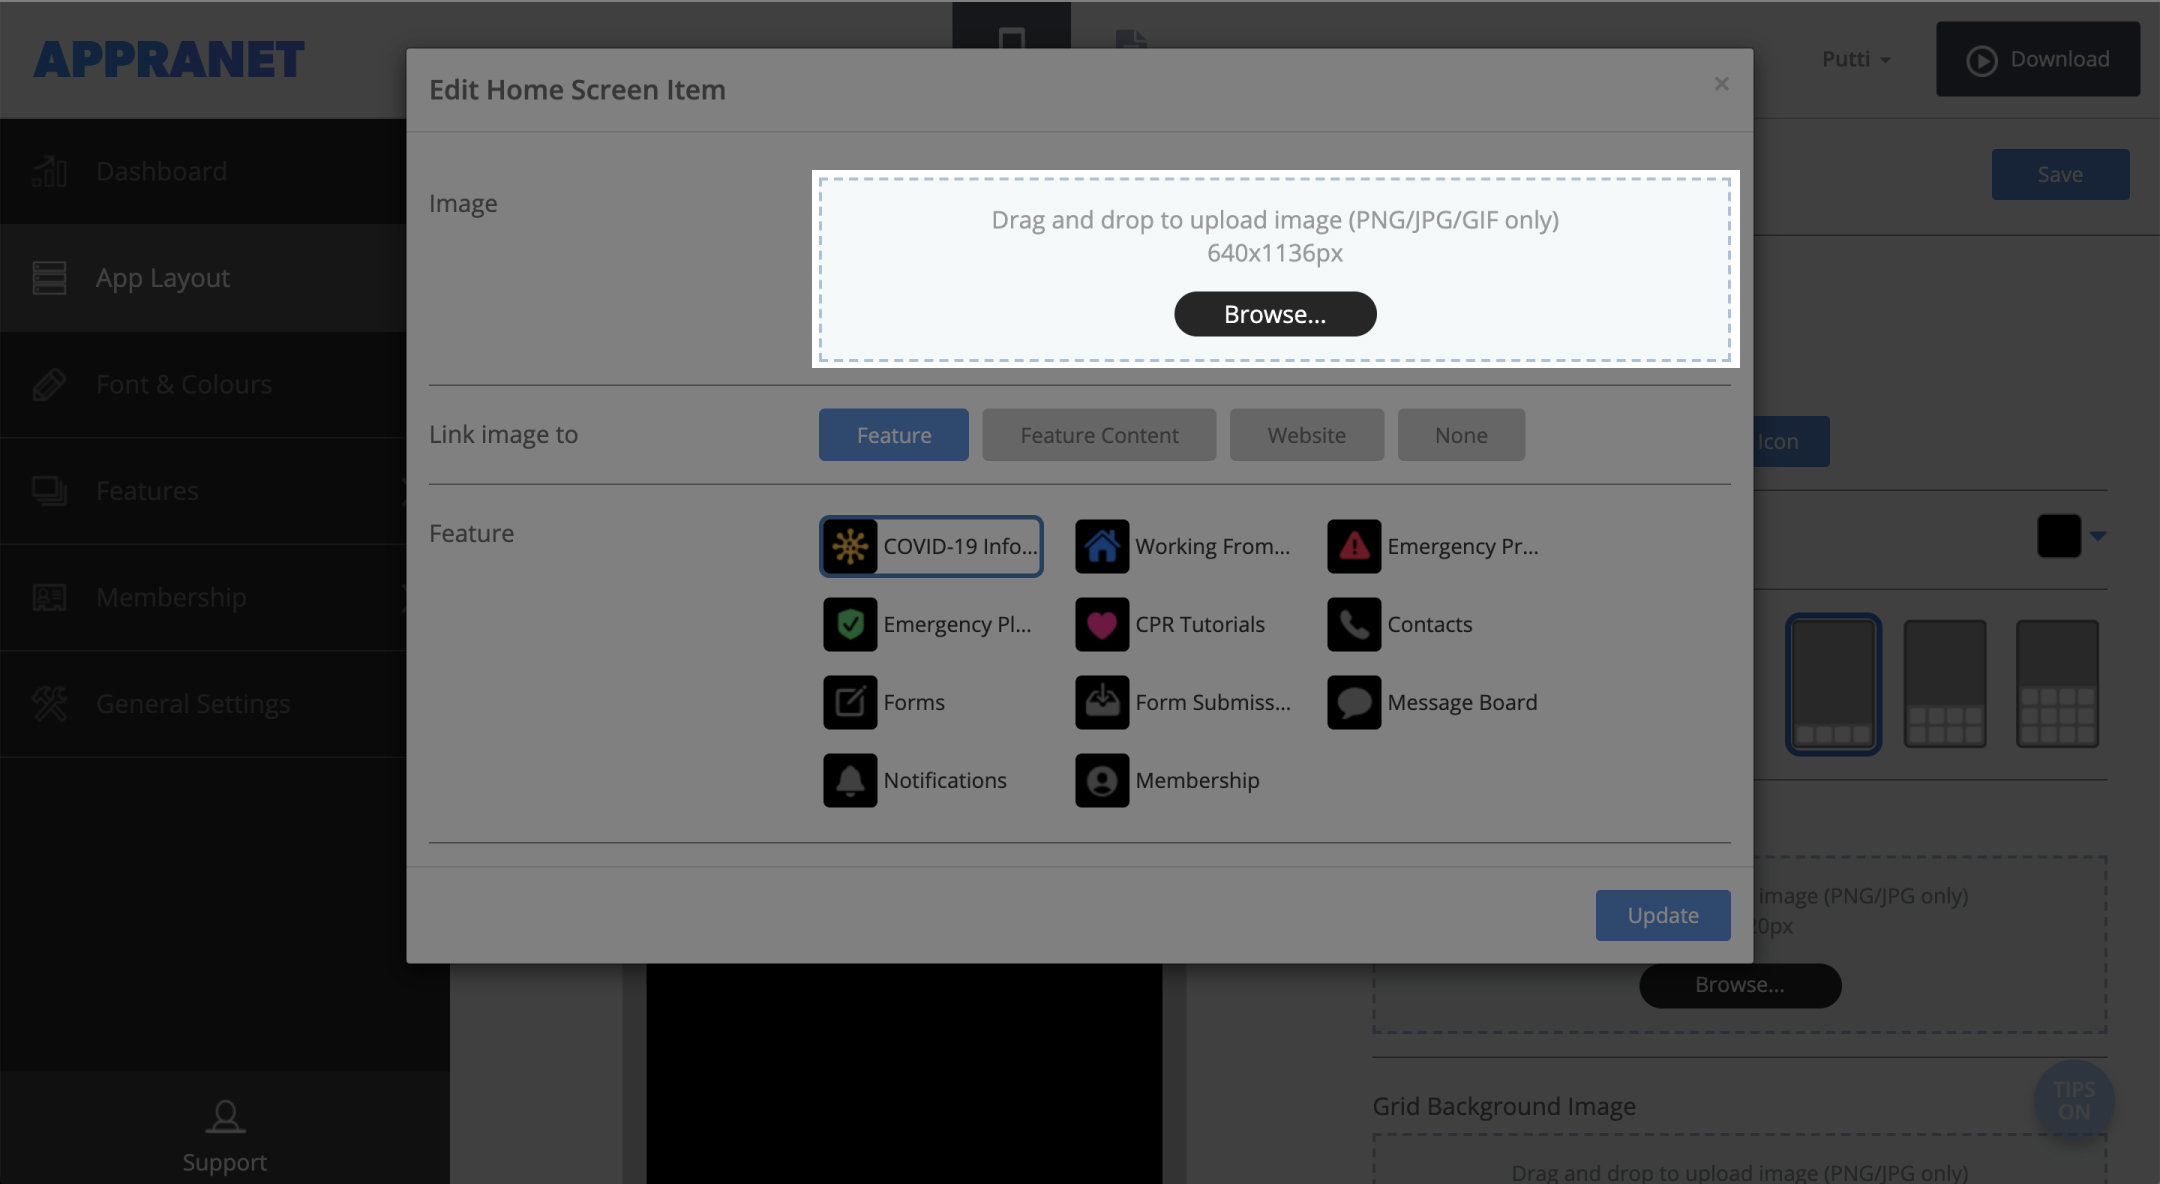
3. Choose wether you would like the splash screen to link to a Feature, Feature Content, Website or None. This means that if the splashscreen is clicked it will take you to the content which you have specified.
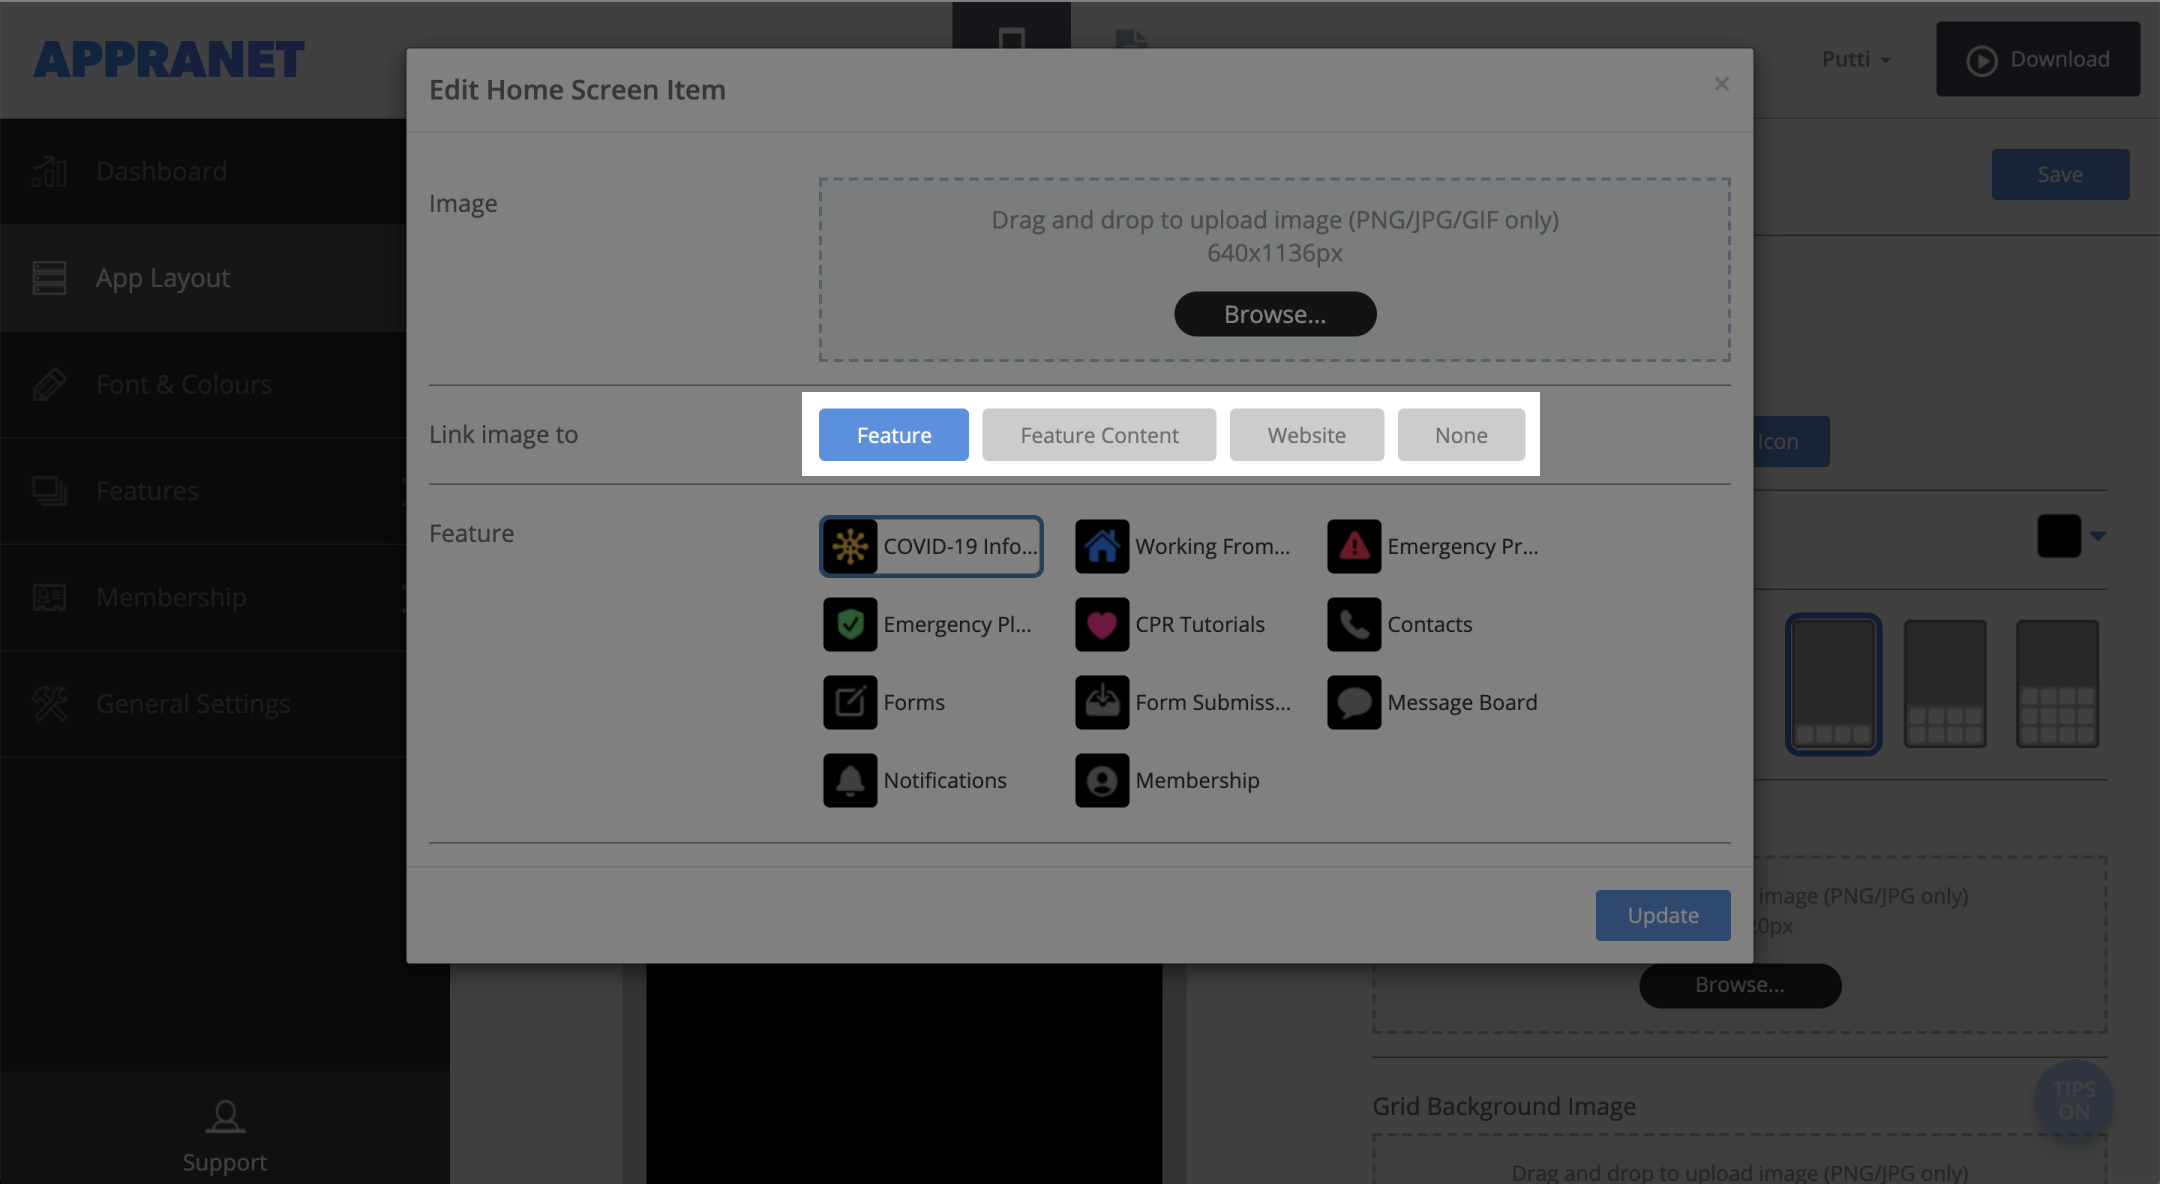
4. Press update to save.

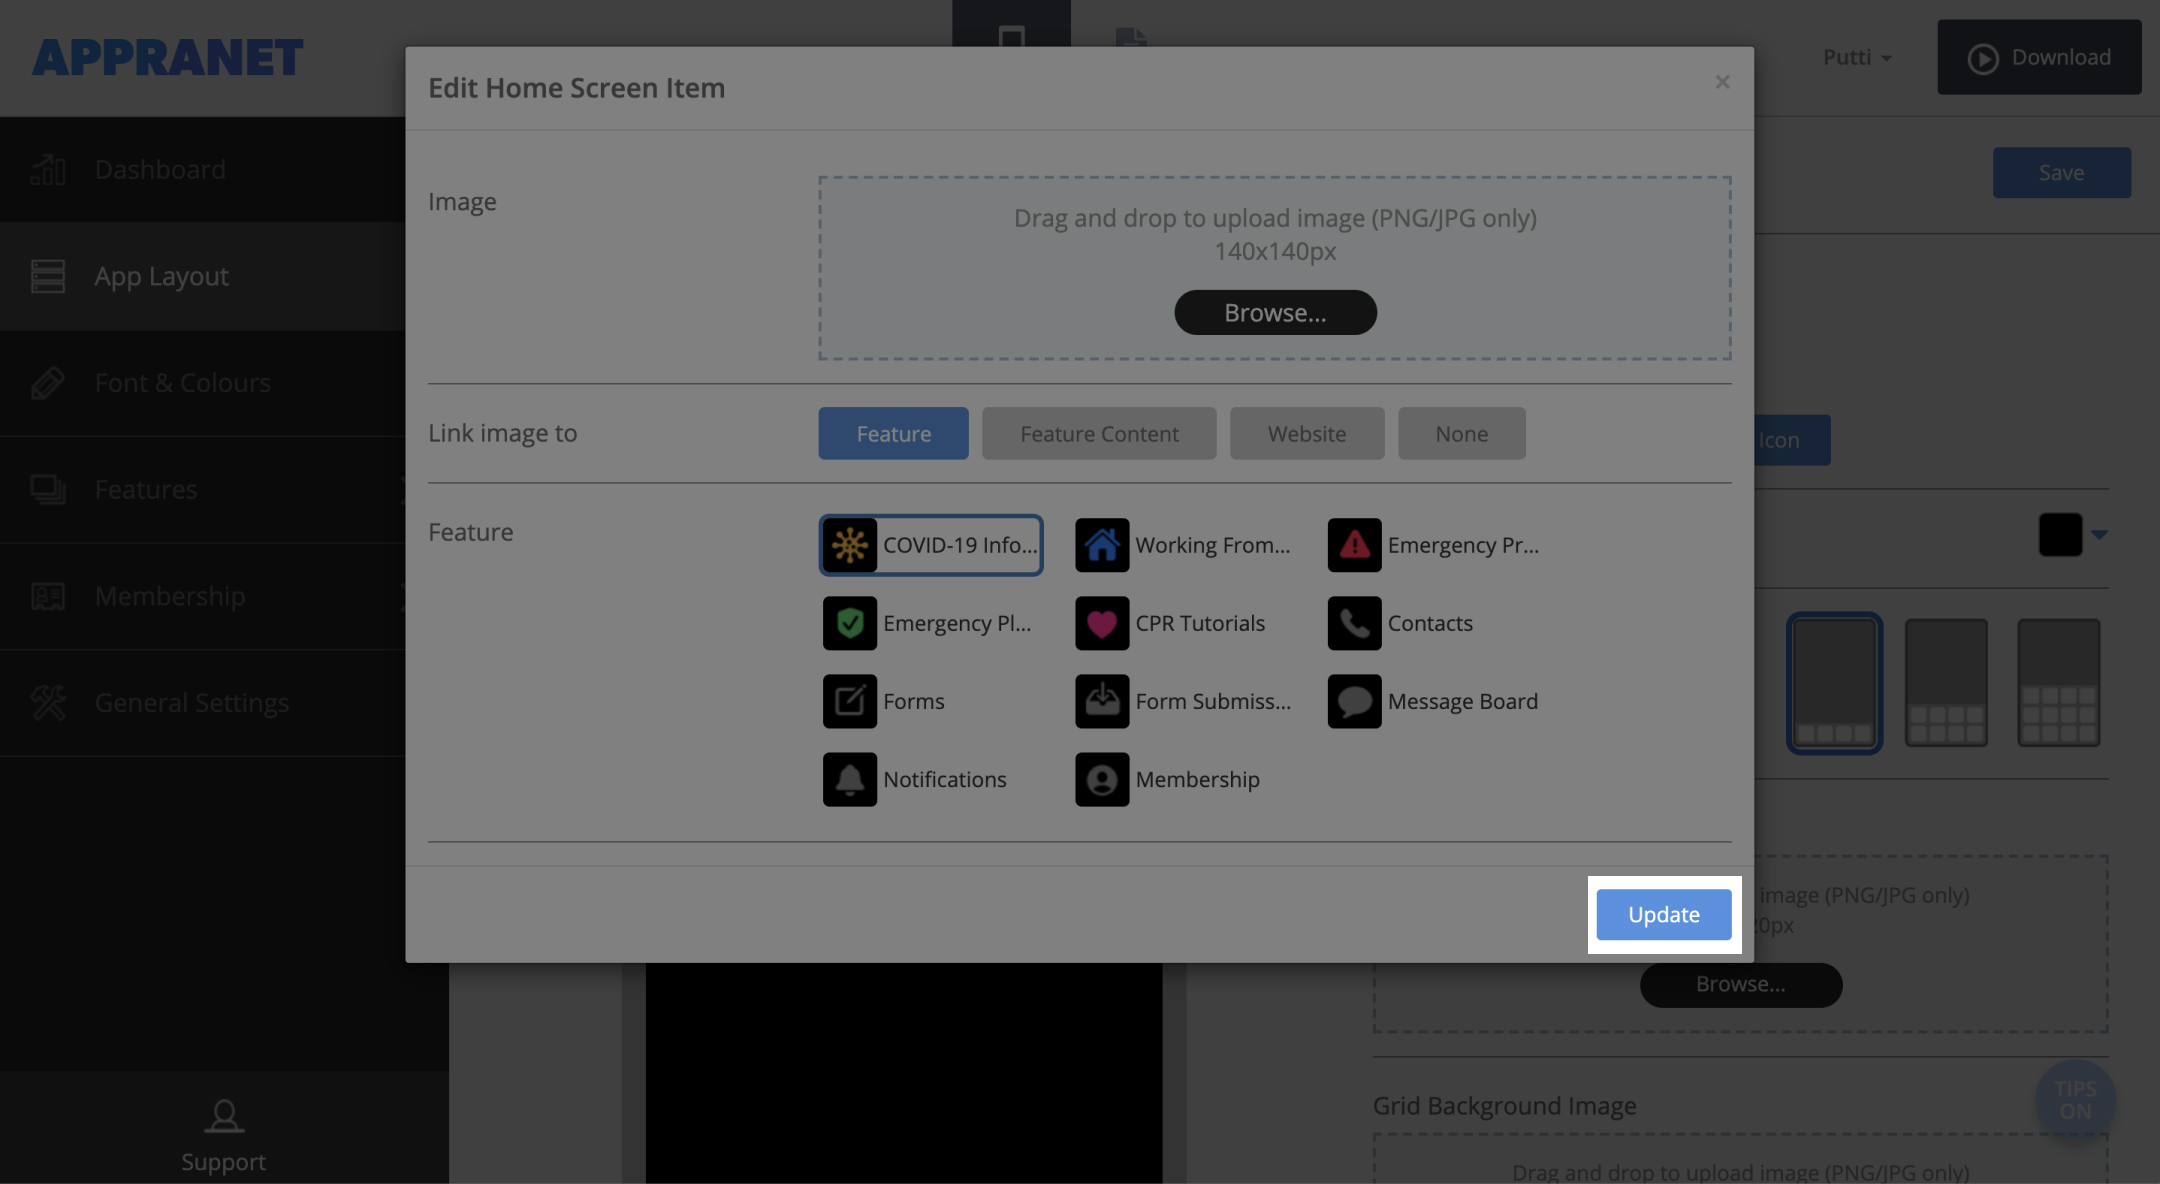
5. To add your own custom icon for your bottom tabs press ‘Add Tab Icon’
6. Either drag and drop an image in to the blue space or press browse to upload one from your computer at 140x140px

7. Choose wether you would like to link the tab to a particluar feature or content on your app or even an external website

8. Press update to save
9. Choose a background colour for the home screen by pressing the drop down menu which will display a colour palette.
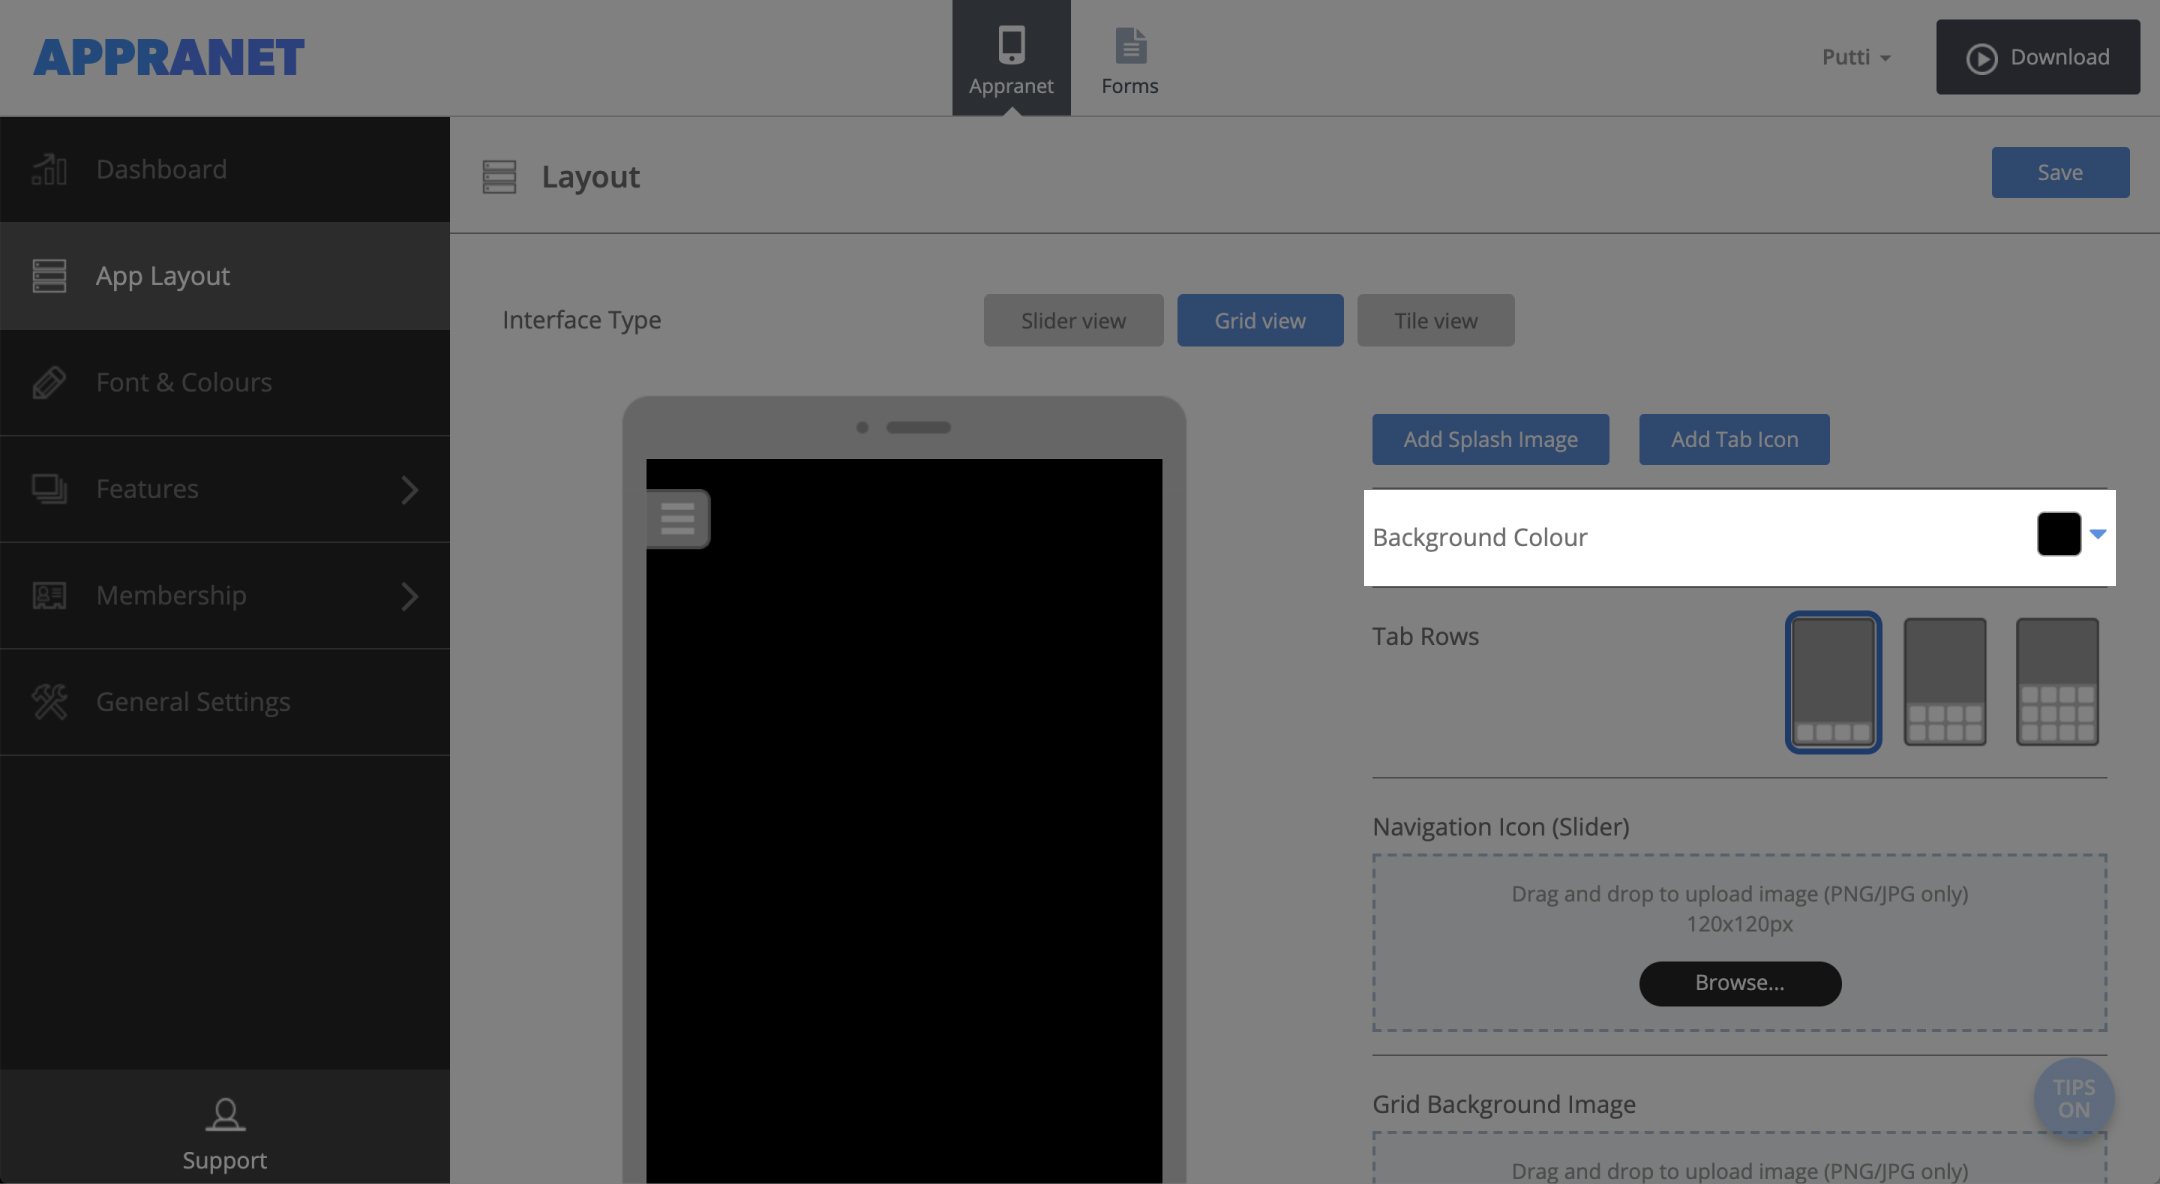
10. If you would like more than one row of tab icons then select either 2 or 3 rows.
11. The navigation icon is the icon used to open the slider menu, use the preloaded icon or upload your own.
12. If you would like the tab icons to have a background image upload your own custom ‘grid background image’.
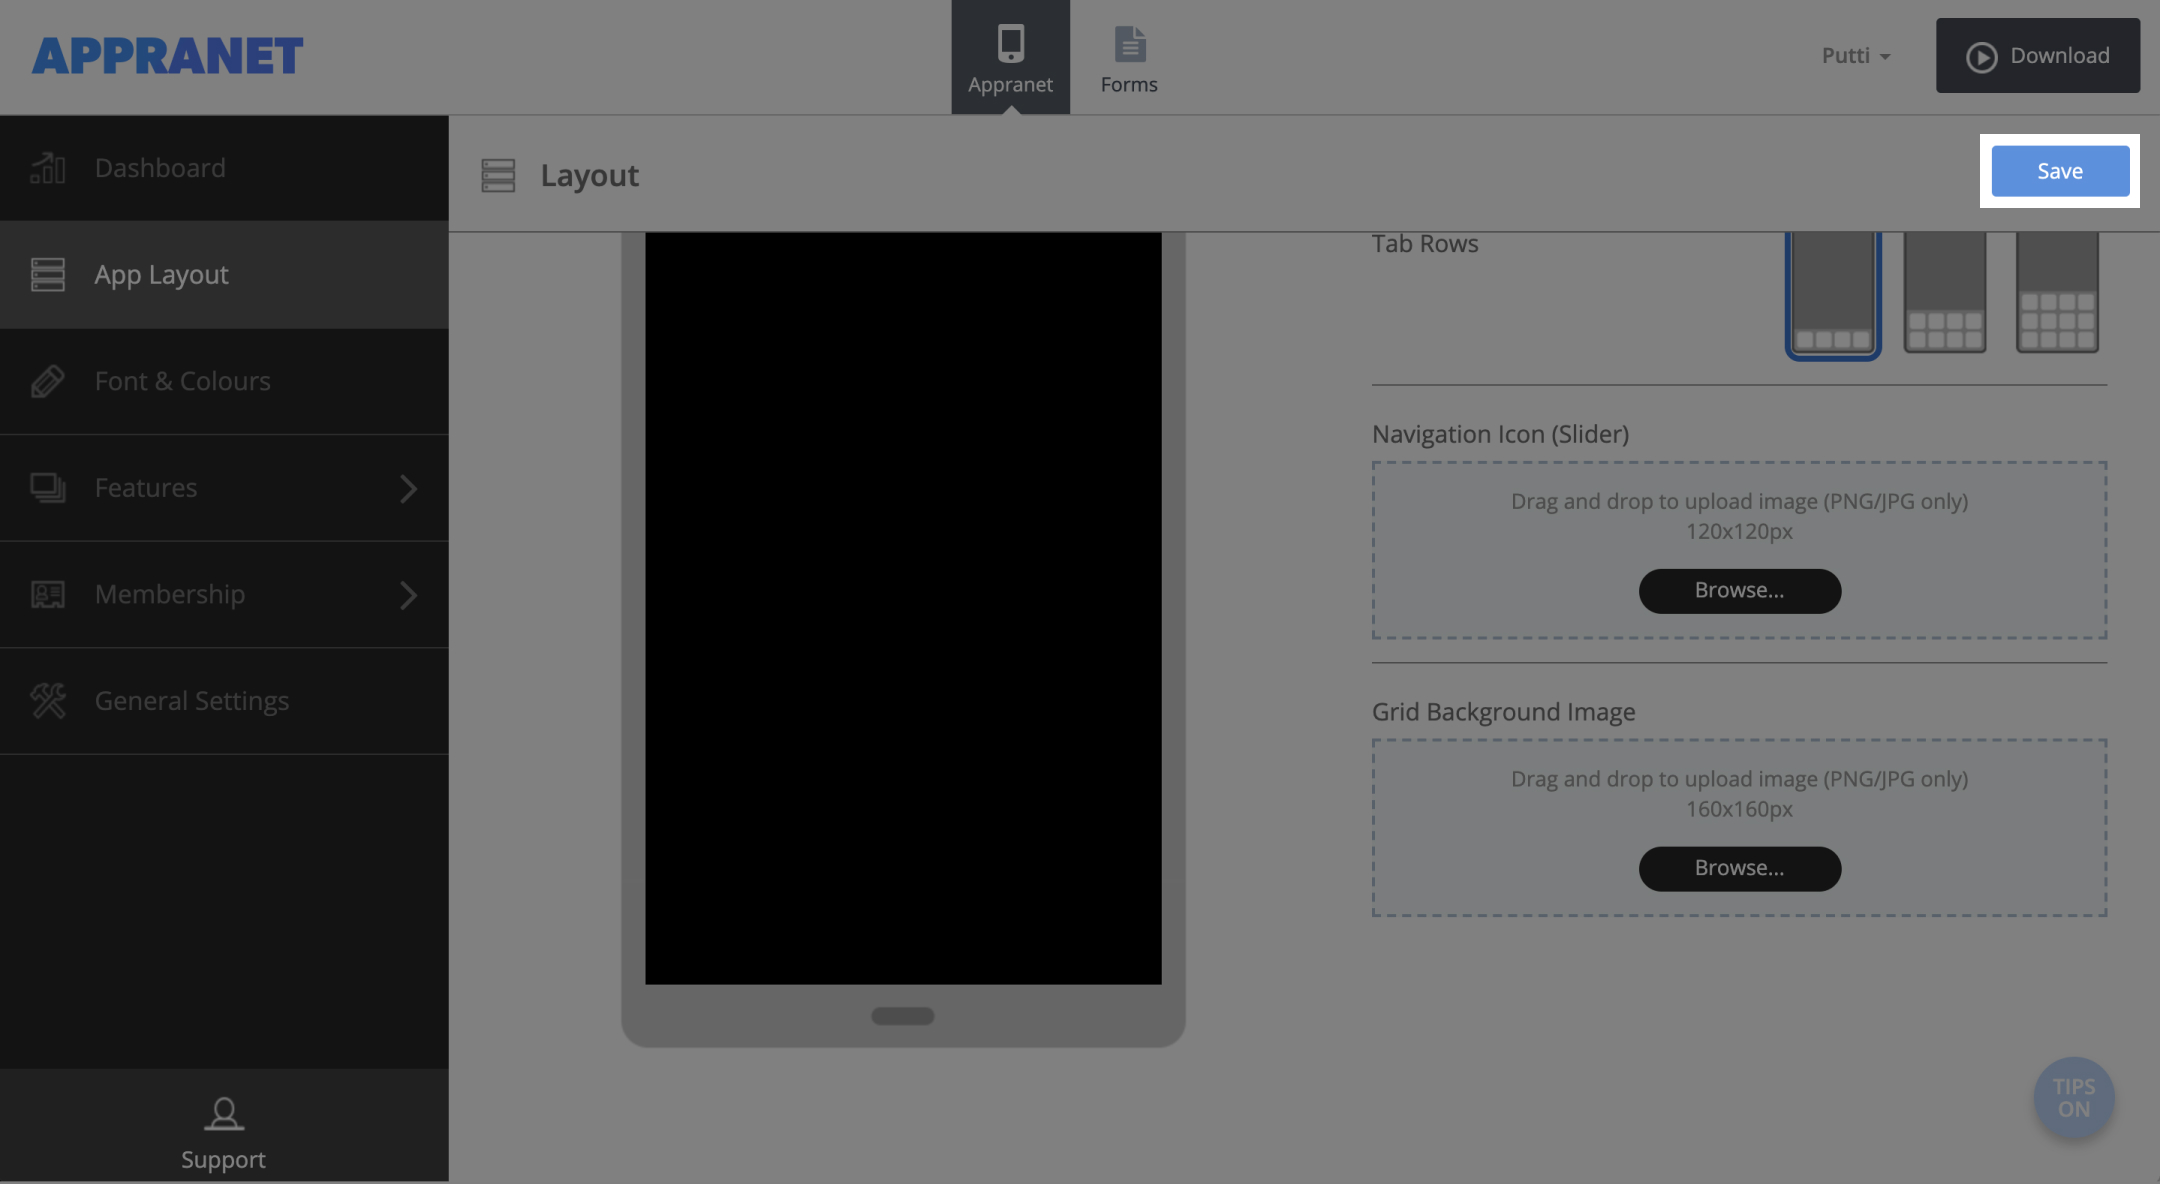
13. Press save to update your changes.
Tile View
The tile view is a good layout option if you would like to have multiple images in a mosaic formation, and buttons on your app’s home screen.
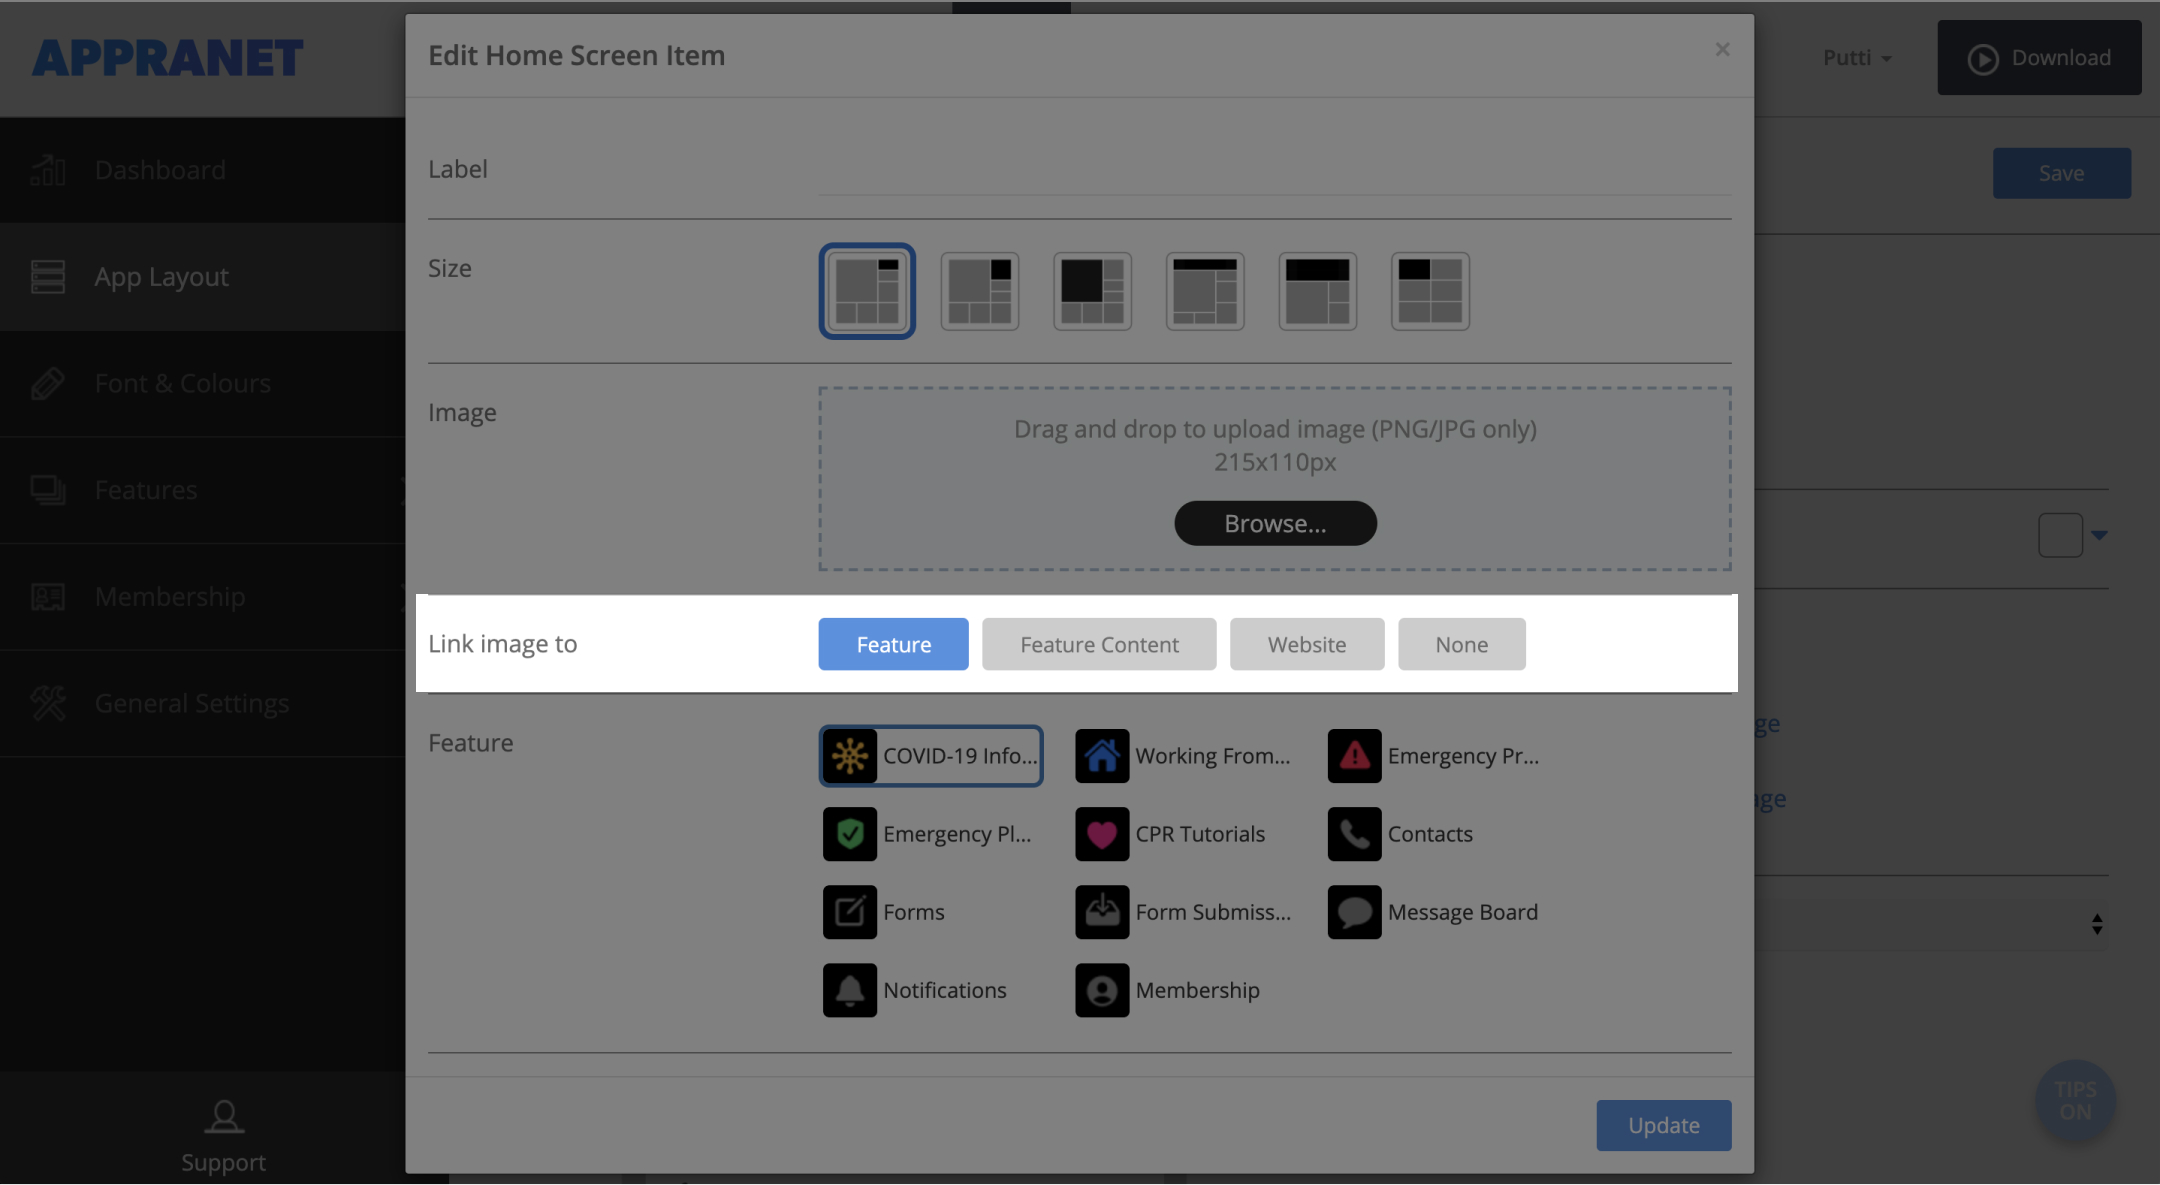
1. Start uploading your image by clicking ‘Add Tile’.
2. Label the image that you are uploading. (optional)
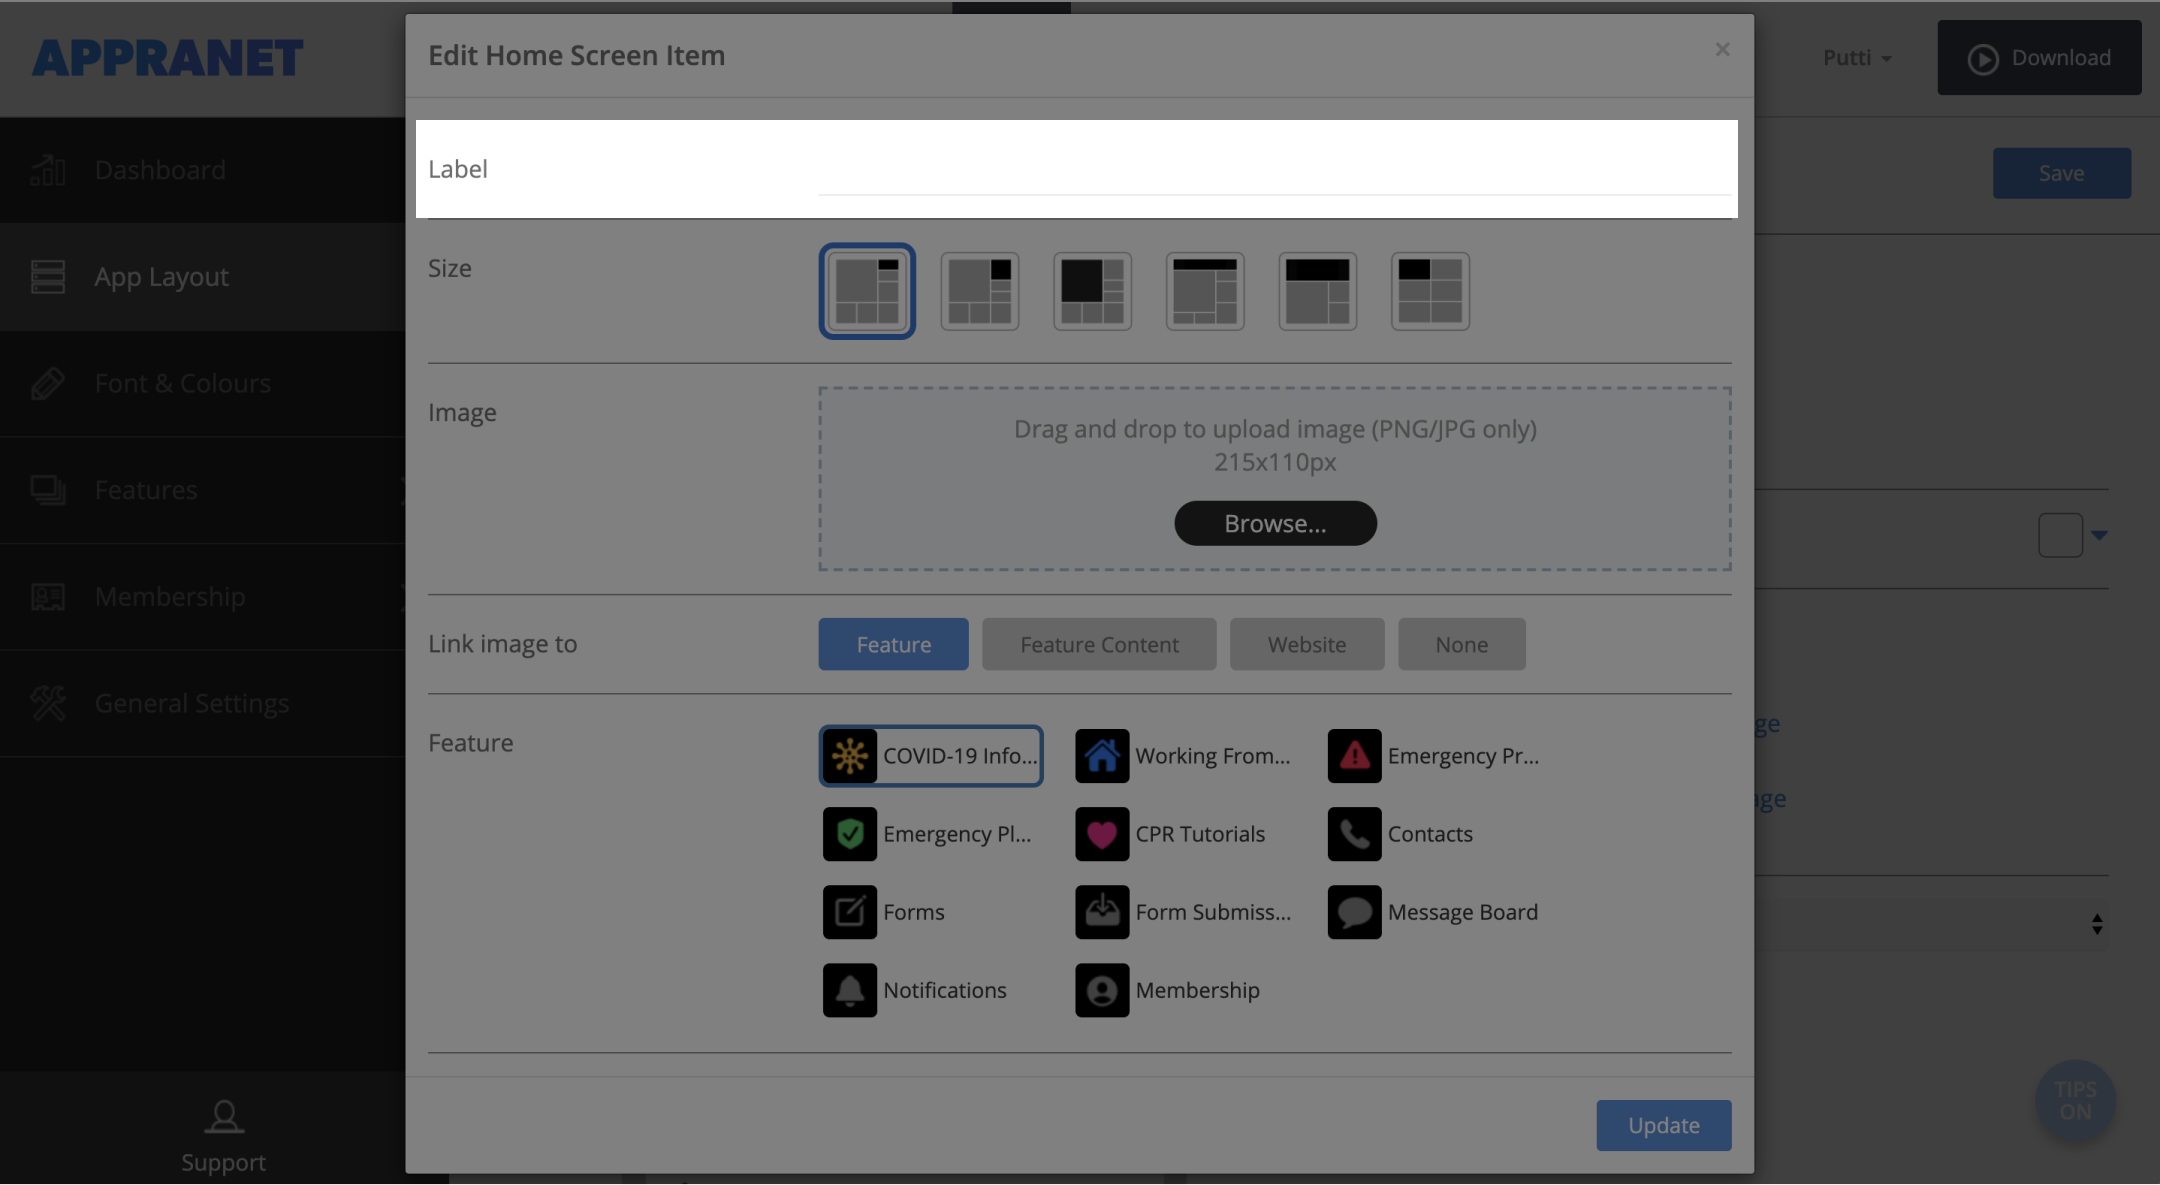
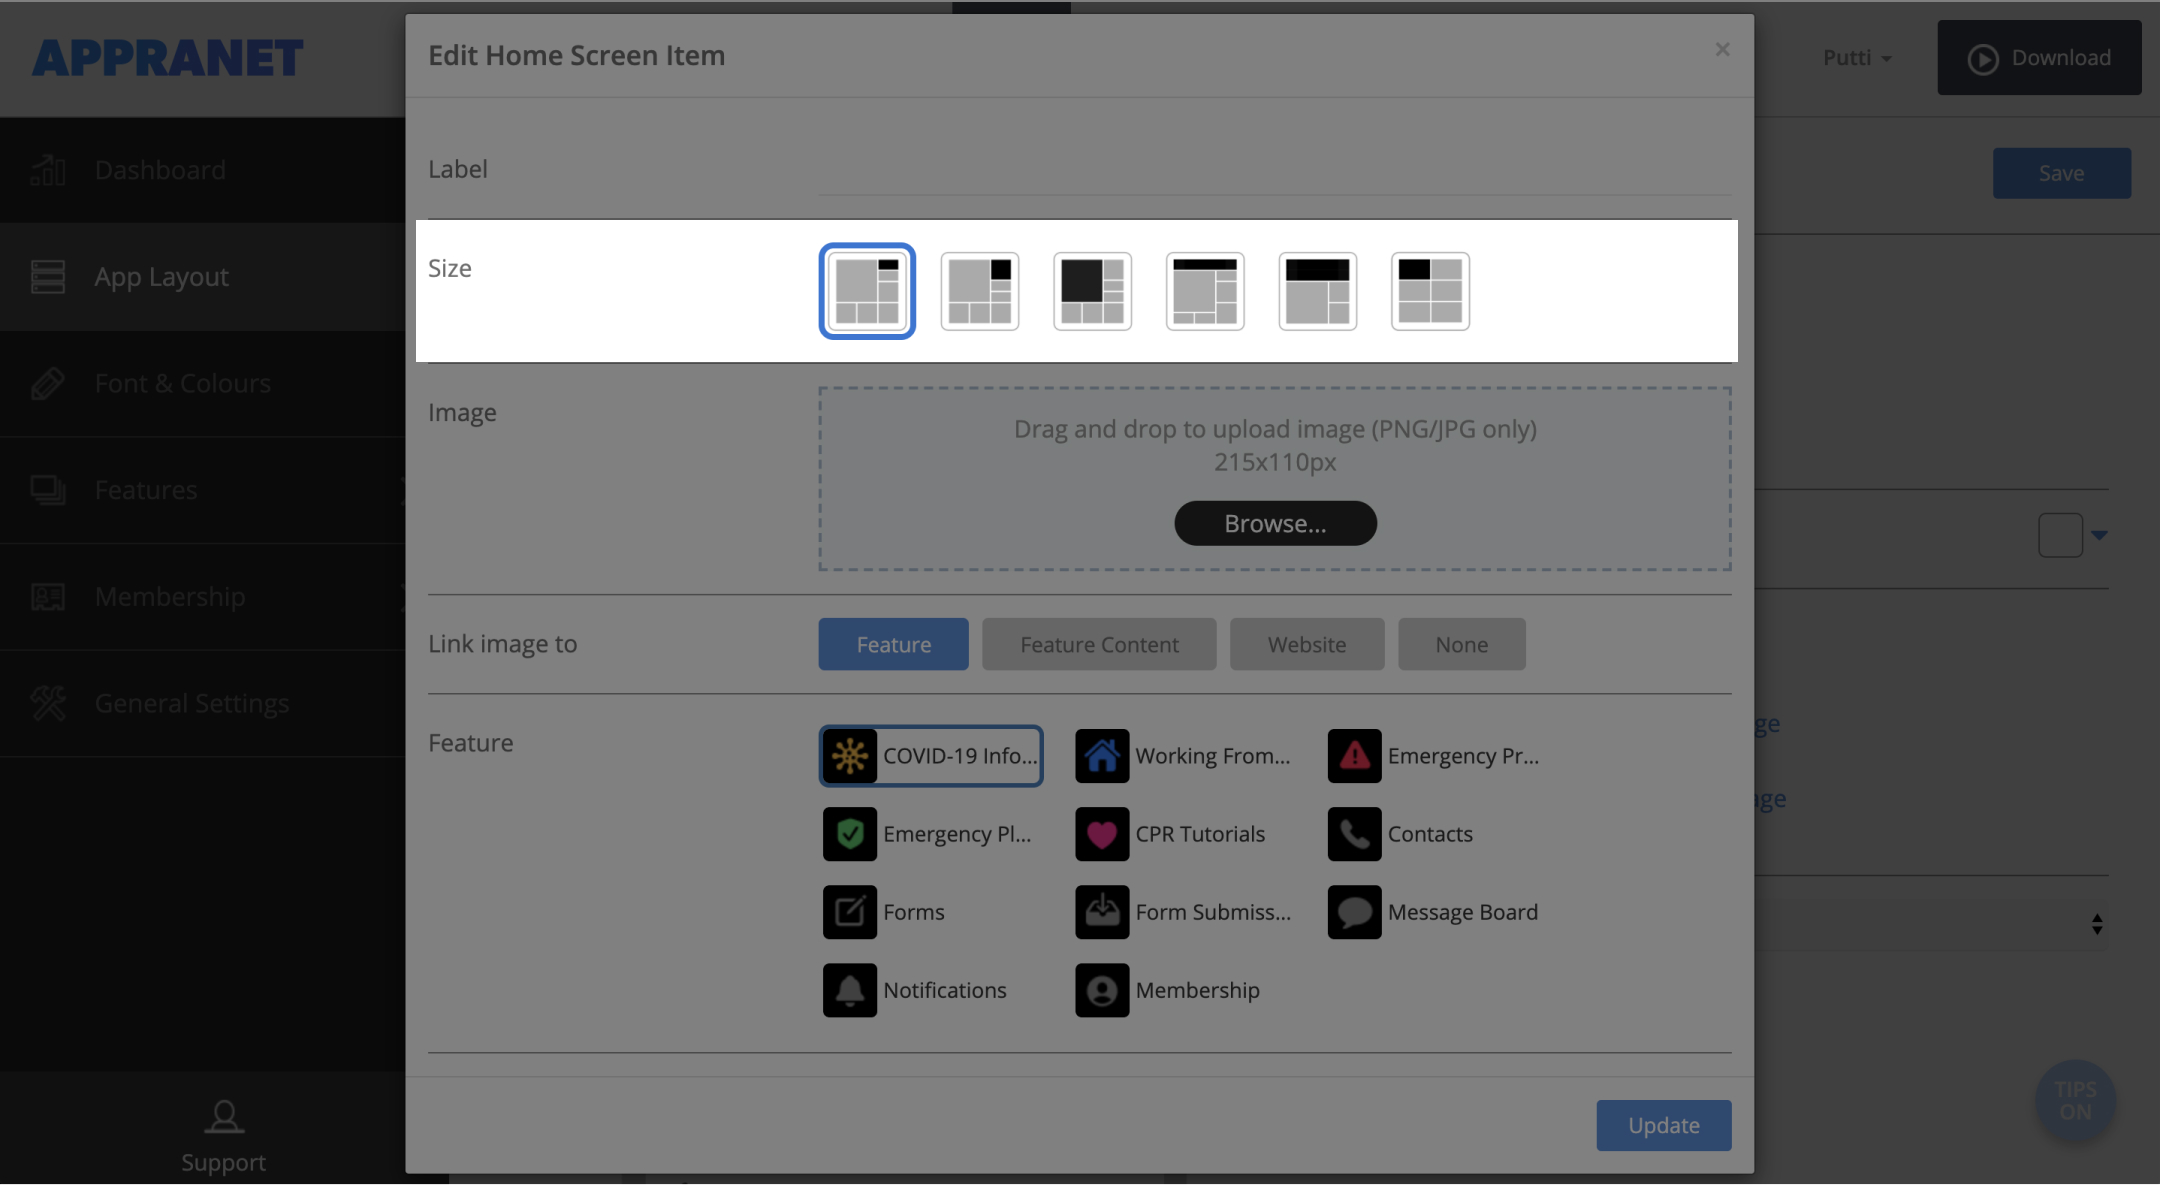
3. Select which size you would like to upload your tile as by selecting the diagram of the layout you want to pick.
Once you have chosen the size you would like to go with, the image upload area will update the size that you will need to upload your pictures as accordingly.
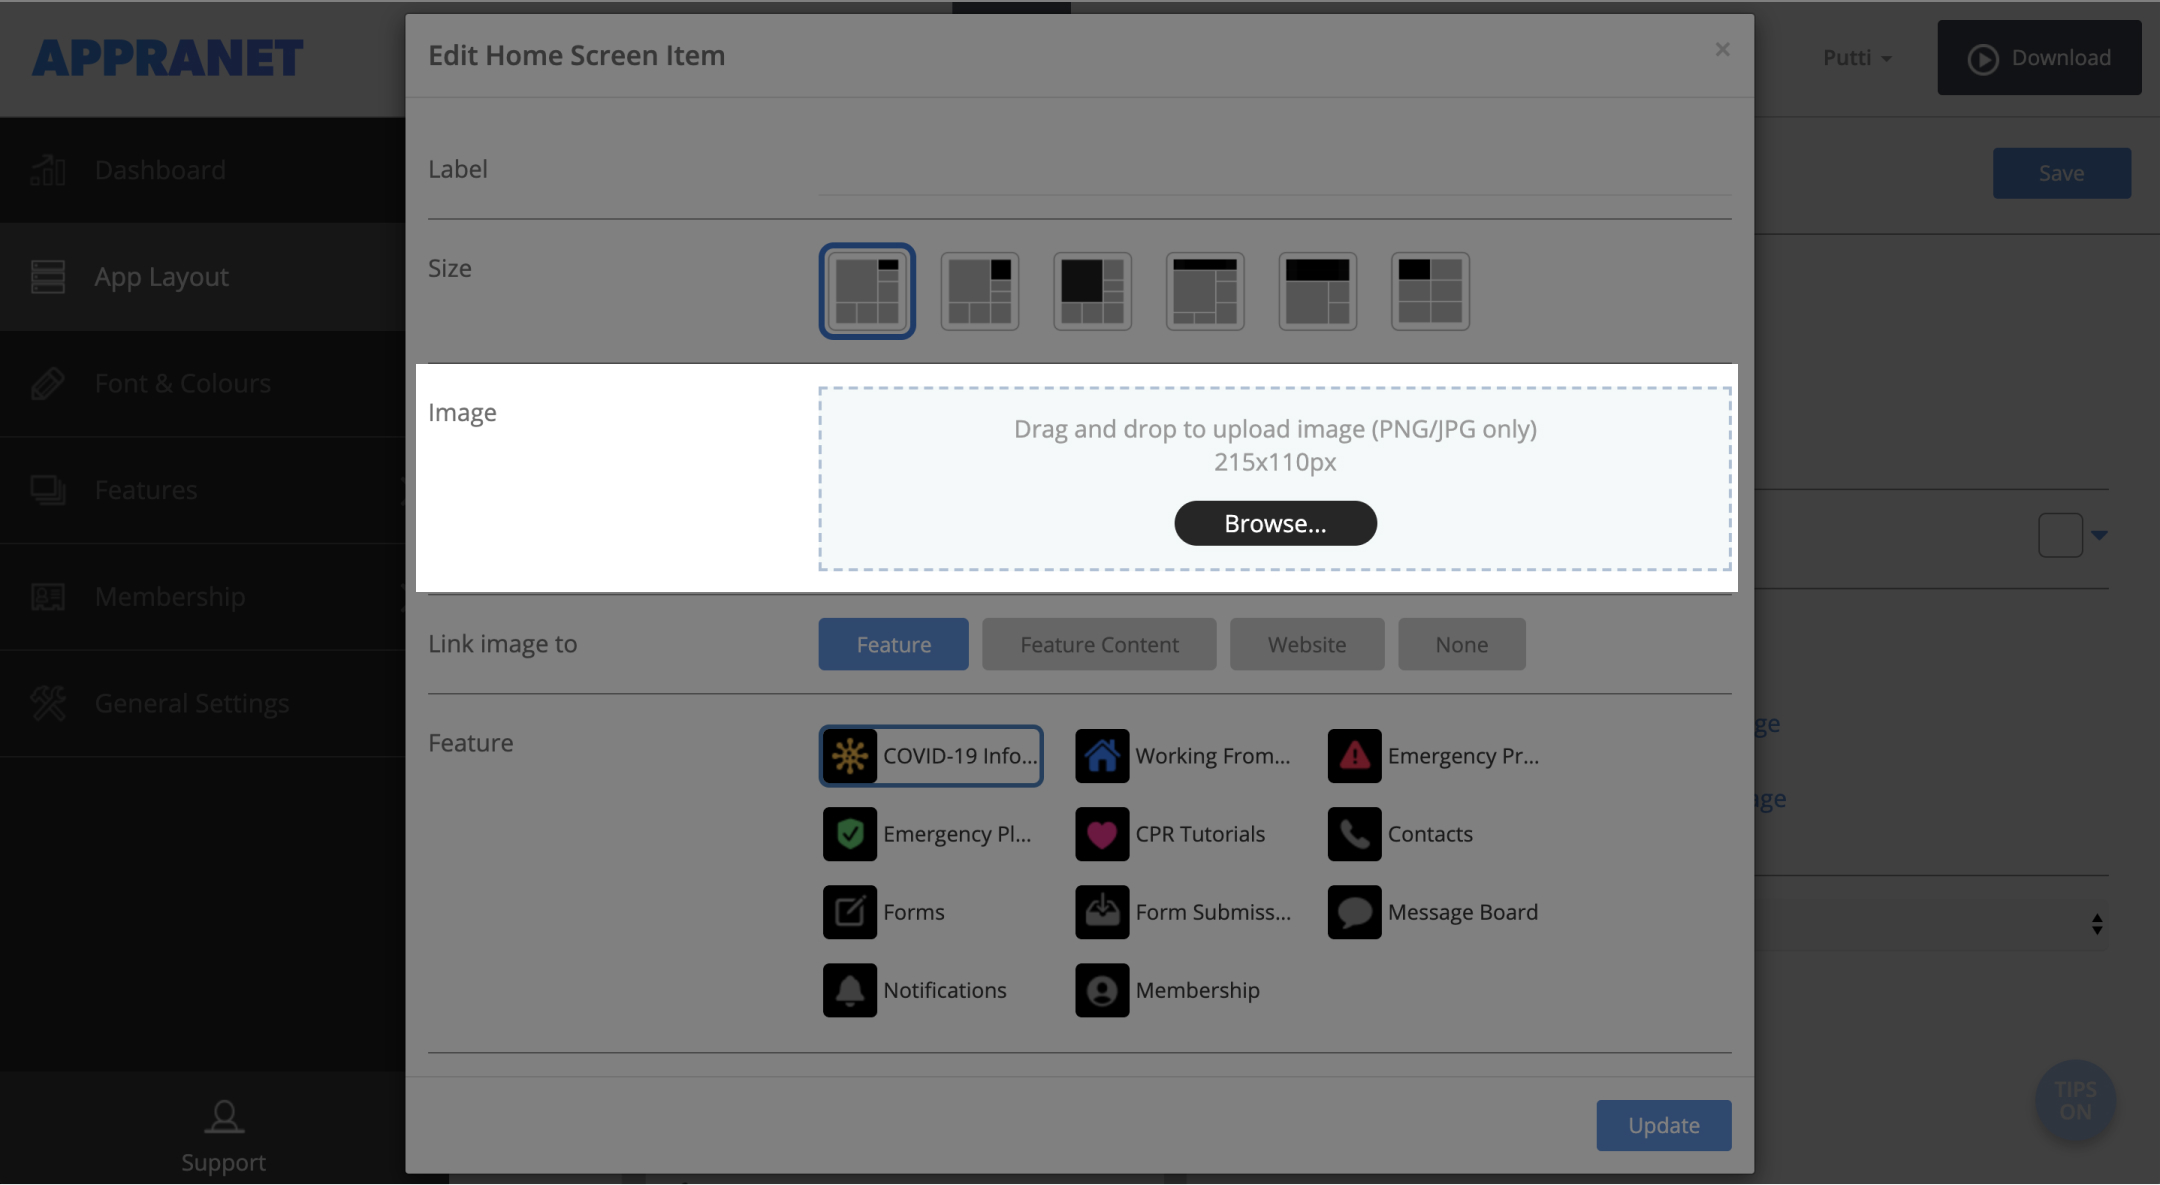
4. Select your image by dragging and dropping it on to the platform or browsing for one on your computer.
5. Choose whether you would like to link the tile to a particular page (feature) or content on your app or even an external website.
You will notice that the images you upload will puzzle together depending on the layout you have chosen for that image.
6. Rearrange the order of your images by hovering over the tile you would like to move and pressing the arrow button to move back and forth.
7. You can also delete and edit a tile by pressing the edit or trash can icon on the image.
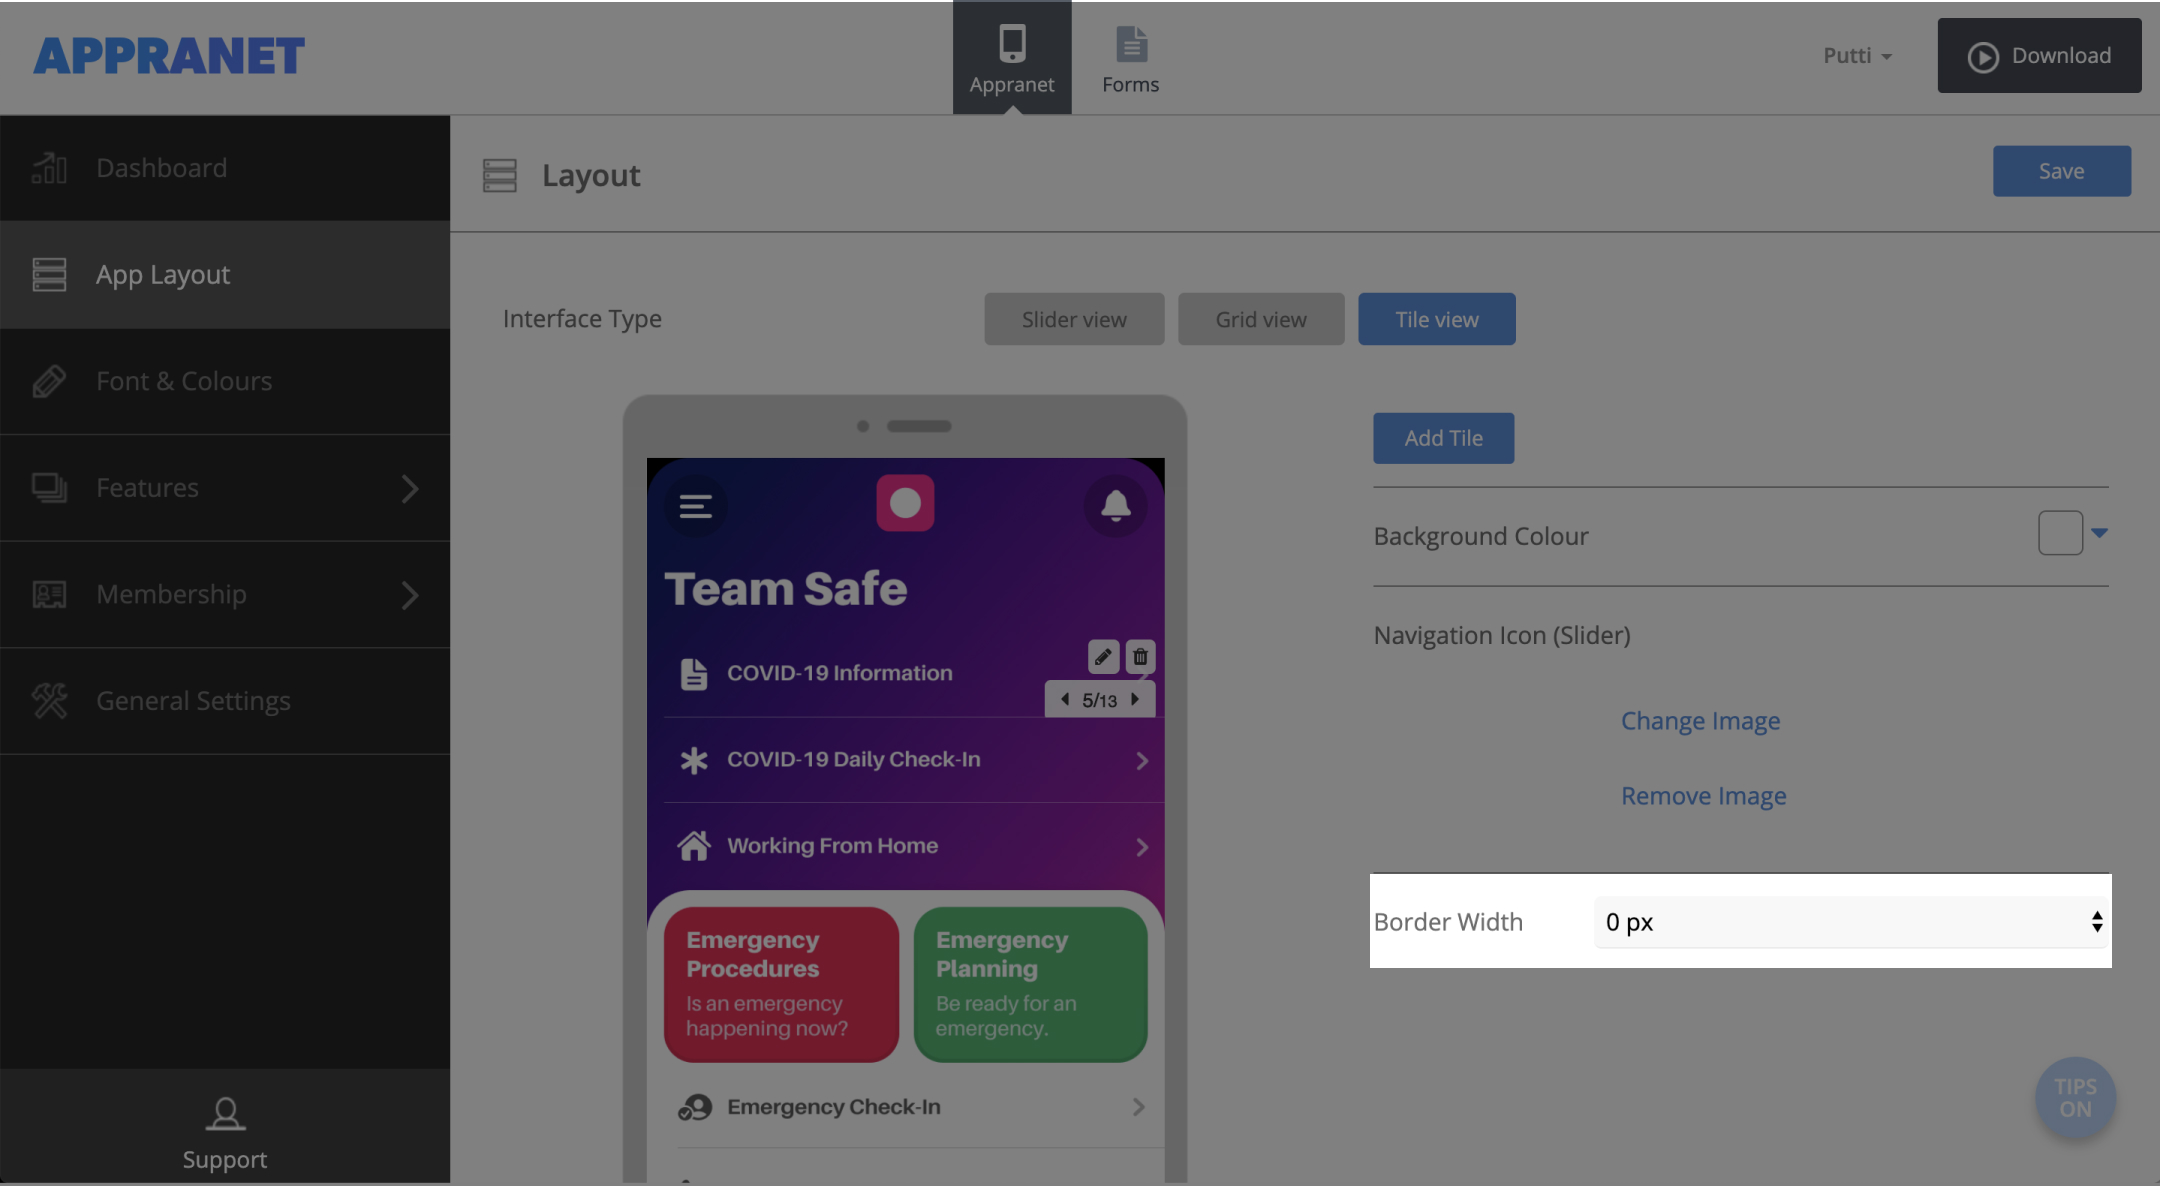
8. The navigation icon is the icon used to open the slider menu, use the preloaded icon or upload your own.
9. If you would like to have a border around each of the image then select the border width, otherwise if you would like no border then set the border width a 0 px.
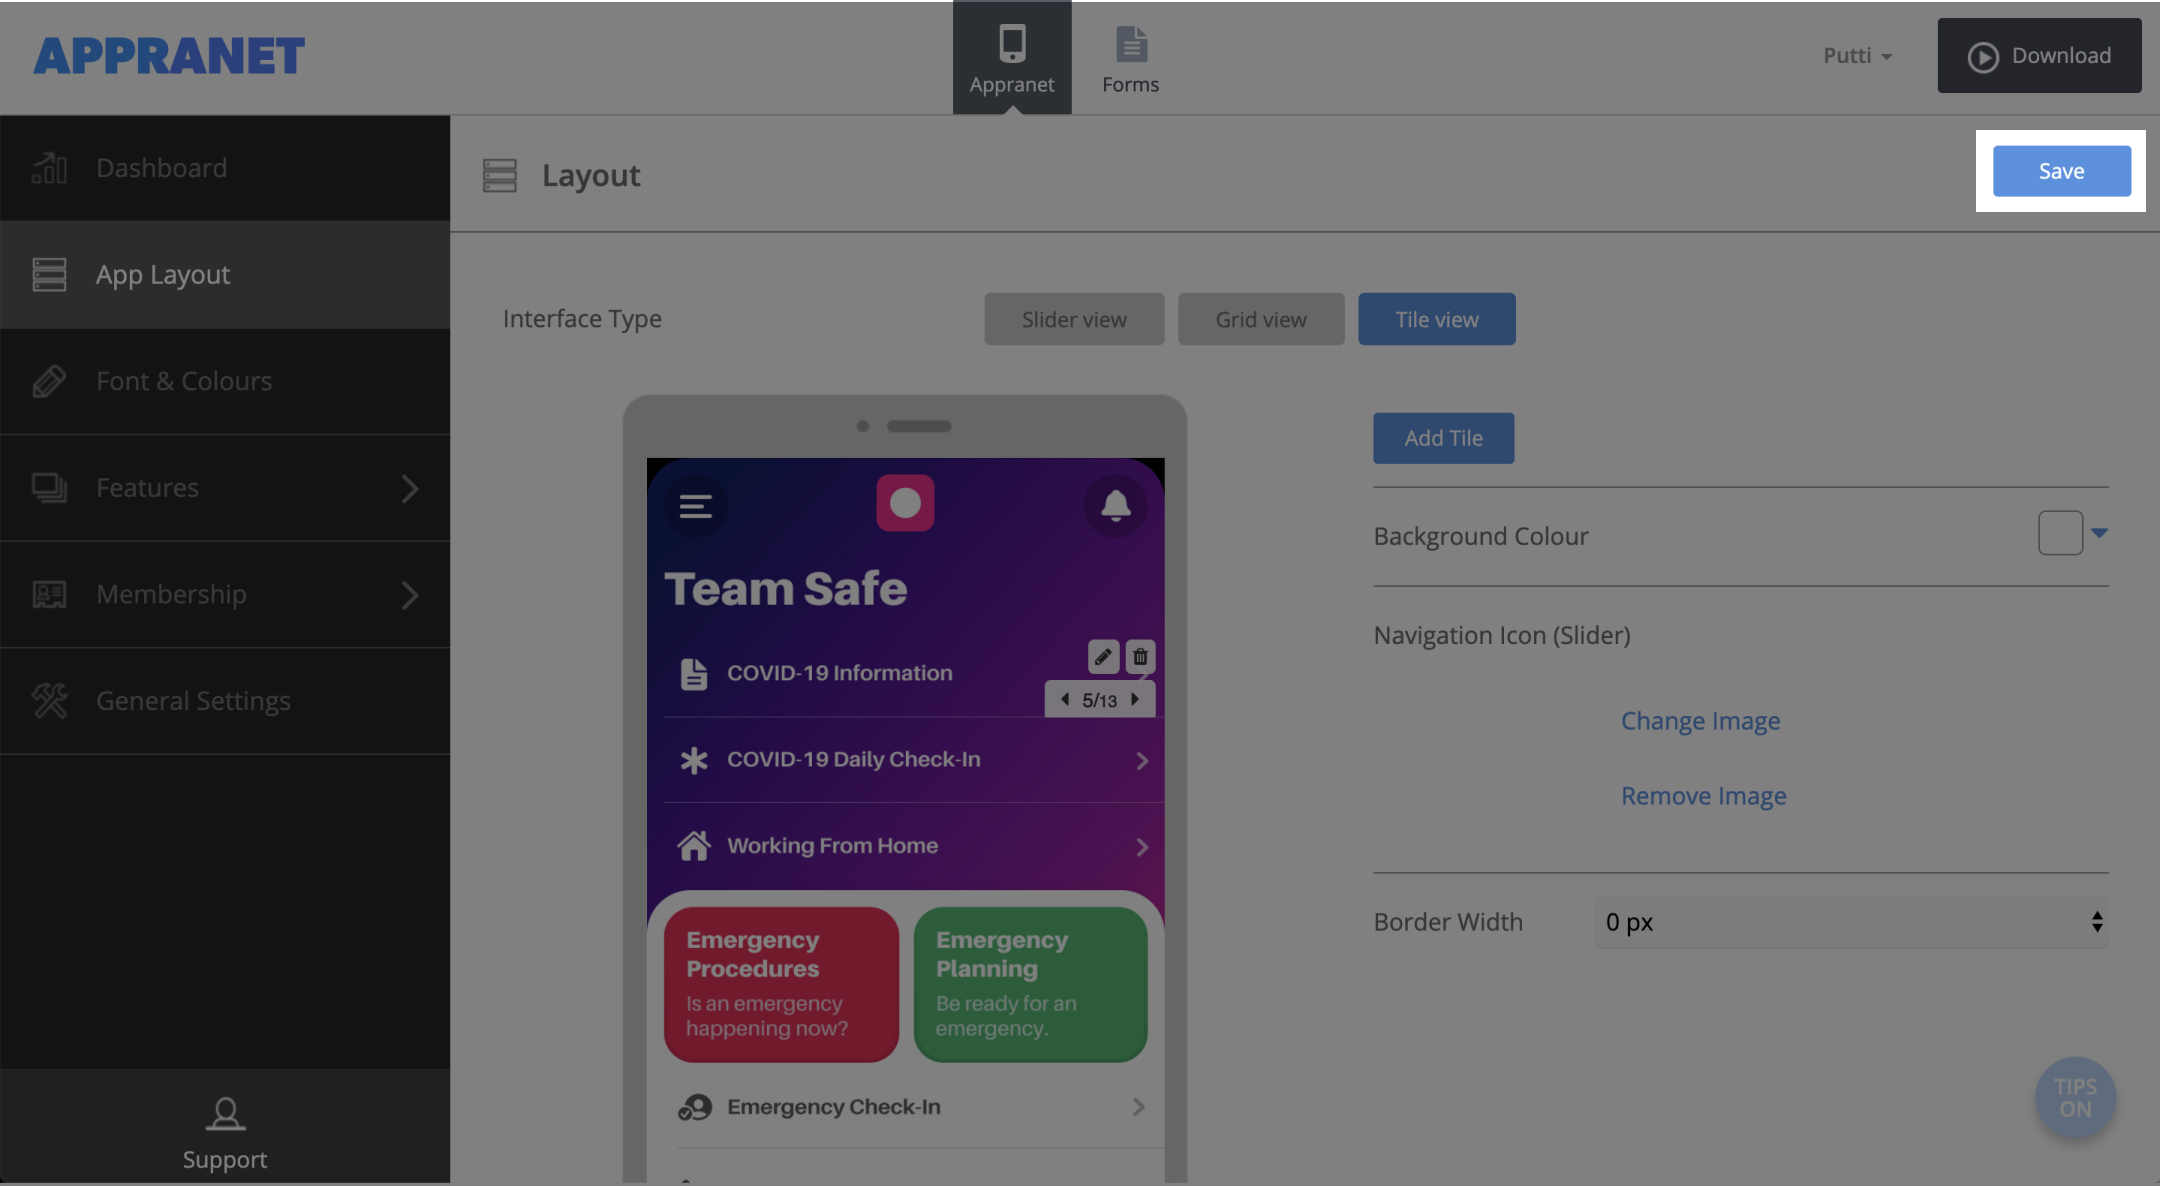
10. Press save to update your changes.
Solutions
Case Studies
Information
Contact
All Rights Reserved. © 2020 Appranet